
How to Become a Commercial Drone Pilot in the US: From Certification to Content
People assume the drone is the hard part. It isn't. The drone is the easy part. The hard part is everything wrapped around it — the certificate that makes your footage legal to sell, the airspace you're standing under, and the gap between "I flew over the venue" and "I captured a shot the couple will frame on their wall."
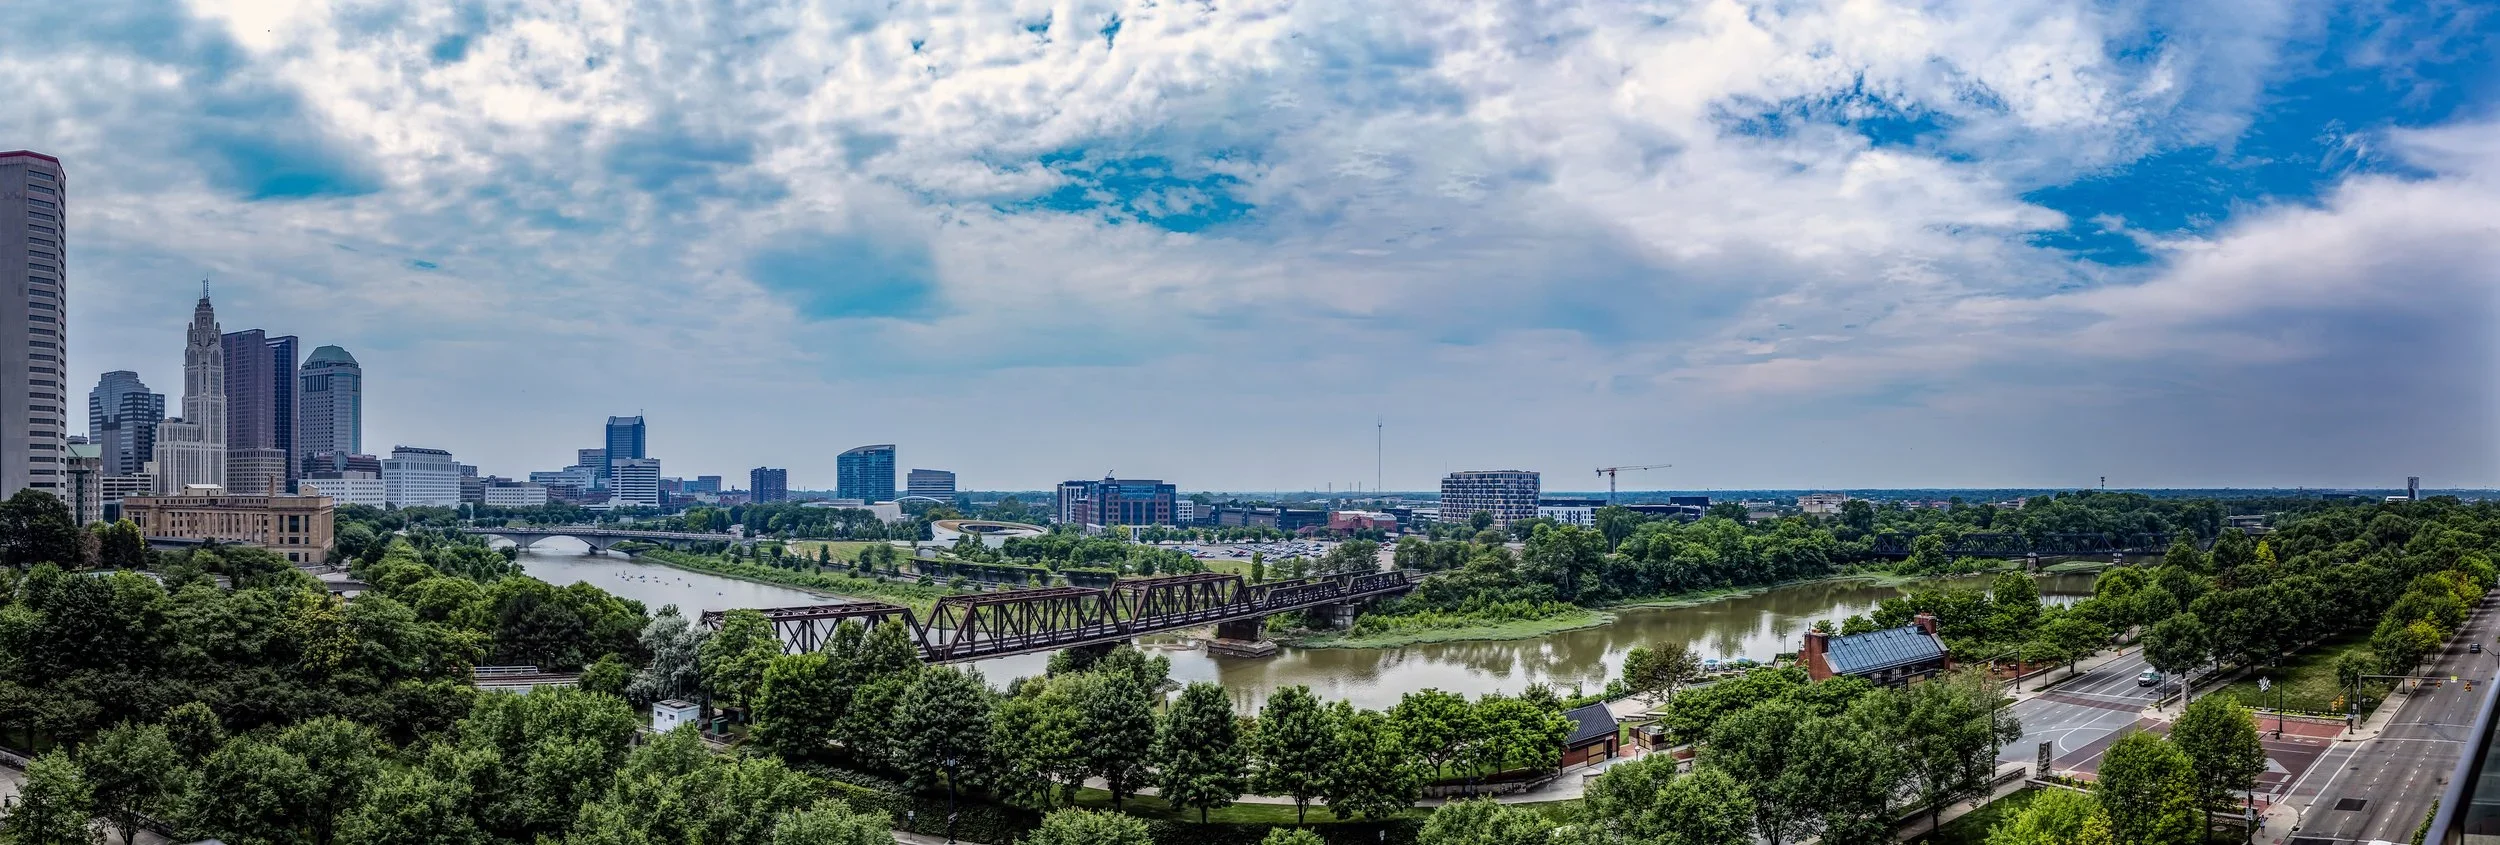
I fly drones for weddings, real estate, and brand work here in Columbus, and I get this question constantly: what does it actually take? So here's the whole thing, start to finish. Certification first, because without it nothing else matters, then the part I actually love — making content worth flying for.
One thing up front: the moment money is involved, you're commercial. The FAA doesn't care that it's "just a wedding reel" or "just one listing." If you're getting paid, or it's promoting a business — including your own — you need to be certified. There's no gray area there, so let's start where you have to start.
Step 1: Get Your Part 107 Certificate
Part 107 is the FAA Remote Pilot Certificate. It's the license that lets you fly a drone for any non-recreational purpose in the US. Photography, video, real estate, inspections, monetized content — all of it lives under Part 107.
Who can get one. The bar is low and that's good news. You need to be at least 16, able to read, write, speak, and understand English, and in physical and mental shape to fly safely. That's it. No flight school, no piloting background, no four-year degree.
The test. Everything hinges on a single exam — the Aeronautical Knowledge Test. It's 60 multiple-choice questions, you need 70% to pass, and you take it in person at an FAA-approved testing center. The fee is $175. You'll have two hours, though most people finish well under that.
The content is where people underestimate it. It's not about flying — there's no hands-on portion. It's airspace, sectional charts, weather, drone performance and loading, and the regulations themselves. If you've never read a sectional chart, the airspace section is the wall most people hit. Budget two to four weeks of part-time study and run through a paid prep course; the structure is worth the money and the pass rates speak for themselves.
Before and after the test. Register for an FAA Tracking Number through IACRA (the FAA's airman certification site) before you sit the exam. Passing also runs you through a TSA security background check automatically — nothing you have to chase down. Once you clear it, you finish your application in IACRA, get a temporary certificate you can fly under immediately, and the physical card shows up a few weeks later.
Fail it? You wait 14 days and pay the $175 again. Most people pass on the second go with focused study, so don't spiral if it happens.
Your actual first move is to register on IACRA and generate your FTN — do that before you book the test, since you'll need the number to schedule it. One caution: make sure you're on the official iacra.faa.gov site. There's a swarm of lookalike pages that charge for things the FAA does for free, and that exact address is the only one you want.
Step 2: Register the Drone and Turn On Remote ID
The certificate is you. The registration is the aircraft. Two separate things, and you need both.
Any drone between 0.55 and 55 pounds has to be registered with the FAA before it flies commercially. You do it through the FAA's DroneZone portal, it costs $5 per aircraft, and it's good for three years. You'll get a registration number that has to be marked on the drone itself.
Then there's Remote ID — think of it as a digital license plate. Your drone has to broadcast its identity and location while it flies. Most current drones have Standard Remote ID built in; if yours doesn't, you attach a broadcast module. This isn't optional anymore, and it's the kind of thing that's invisible until an FAA inspector or a curious property owner asks about it. Make sure your aircraft is compliant before you take a paid job.
Step 3: Learn the Rules You Actually Fly By
Passing the test means you know the rules. Now you have to live them on a job site, often with a client watching. The ones that matter day to day:
400 feet. That's your altitude ceiling above ground level. (You can go higher within 400 feet of a tall structure you're inspecting, but for content work, 400 is your number.)
Keep eyes on it. You have to maintain visual line of sight — your own eyes or a dedicated visual observer standing next to you. No flying it around the back of a building you can't see.
Airspace authorization. In uncontrolled (Class G) airspace, you're clear to fly. Near airports — controlled airspace — you need authorization first. The good news is LAANC, the FAA's automated system, usually grants it through an app in seconds. Check the map before you commit to a venue, not after.
People and vehicles. You can't fly over people who aren't part of your operation, or over moving cars, unless you meet specific requirements. This is the one that bites wedding shooters — a drone over a packed reception patio is a problem unless you've squared it away.
Daylight, mostly. You can fly day or during civil twilight, and night flights are allowed too, as long as your drone has anti-collision lighting and you've done the required training. A sunset-to-blue-hour reveal is absolutely on the table; just light the aircraft.
Speed and sense. Max 100 mph groundspeed, one drone per pilot, and nothing careless or reckless. That last one is deliberately broad — the FAA wants room to enforce judgment.
A word on reading the whole environment — or, the time a goose tried to end me.
I once got greedy with a low pass and flew my DJI Mini 4 Pro too close to a goose nest I hadn't clocked. The goose disagreed with my flight plan. It came off the water and went straight at the drone, wings out, full assault, and for a few seconds I was flying pure defense instead of capturing anything. The Mini came down in one piece — which is the only reason this is a funny story and not an insurance claim — but I'm pretty sure a few days came off the end of my life in the process.
The lesson stuck: scan your environment for more than obstacles and airspace. Nesting birds, especially in spring, will defend their territory, and to them a drone reads as a predator. Give wildlife a wide berth. It protects your gear, it keeps you out of a reckless-operation conversation you don't want to have, and it's just the right way to fly.
Step 4: Stay Current
Here's a piece people miss: your Part 107 certificate technically never expires, but your currency does. Every 24 calendar months you have to complete recurrent training to stay legal to fly commercially.
The good news is this used to be a paid trip back to a testing center, and it isn't anymore. It's now a free online course through the FAA's safety site — look for the one called ALC-677 (Part 107 Small UAS Recurrent), which is the right one if you only hold a Remote Pilot Certificate. It's a couple of hours of refresher material and a short knowledge check you can retake until you pass. No fee, no appointment. Set a calendar reminder a month out from your deadline so you never let it lapse, because if it does, you can't fly paid work until you renew.
Now the Fun Part: Making Content Worth Flying For
Certification gets you legal. It doesn't make you good. Plenty of certified pilots produce footage that looks like a real estate listing from 2014 — technically airborne, creatively dead. Here's where the craft lives.
Scout before you fly. I check the airspace map, the weather, and the wind the day before, and I walk the location if I can. Wind is the silent killer of smooth footage — anything gusting hard and your "cinematic" orbit turns into a fight for control (Especially when flying a “mini” drone). Know where the sun will be. Know where you're launching and landing. The flight itself should be the calmest part of your day because you handled the chaos beforehand.
Shoot flat, grade later. Film in a log or flat color profile so you keep the most detail in the highlights and shadows, shoot in 4K, and put ND filters on the lens so you can keep a natural motion blur in bright light. Flat footage looks washed out straight off the card — that's the point. You're capturing range and grading the look in post, not baking it in.
Master a handful of moves, not all of them. The shots that actually sell:
The reveal — rising up over a hedge or rooftop to expose the venue behind it.
The orbit — a slow circle around the couple or the building, the single most requested shot in the business.
Top-down — straight down over a ceremony layout, a pool, a geometric rooftop.
The fly-through — threading a gap, an archway, a tree line, for momentum and depth.
Parallax push — flying low and slow past a foreground object so it slides past the background.
Slow and deliberate beats fast and frantic every time. On my remote, there are 3 settings — Cinematic, Normal, and Sport. Cinematic almost always means under-control, not aggressive. Save sport mode for when you've got open space and a real reason — that extra speed is also extra opportunity for something to go wrong.
Edit with intention. Drone footage is seasoning, not the meal. Two or three great aerial shots cut into a wedding film land harder than thirty seconds of uninterrupted flying that makes people seasick. Grade your log footage, match it to the rest of your edit, and be ruthless about cutting the shots that don't earn their place.
The Business Side People Skip
Two things that separate a hobbyist with a certificate from a professional:
Insurance. Commercial drone liability coverage is real and you want it. A lot of venues now require proof of it before they'll let you fly on their property, and one bad flight near a building or a crowd is not a risk you want to carry personally. It's a cost of doing business, full stop.
Setting client expectations. Tell couples and clients up front that aerial work depends on weather, wind, and airspace — and that there are places you legally cannot fly. Saying "I'll get the shot if conditions and the FAA allow it" on the front end beats apologizing on the back end. Clients respect a pro who knows the limits. They lose trust in one who promises a shot and then can't deliver it.
One Thing on the Horizon
You'll see talk about Part 108 — a new FAA framework for beyond-visual-line-of-sight and large-scale autonomous operations like drone delivery. It's been working its way toward finalization and it's a genuinely big deal for the inspection and logistics world. For what we do — line-of-sight content work — it changes nothing about how you get started or what you fly under today. File it under "good to know," not "need to act on."
The Bottom Line
Becoming a commercial drone pilot is more accessible than the FAA paperwork makes it sound. A few weeks of study, a $175 test, a $5 registration, and you're legal. The real investment is everything after that — learning to read the sky, fly with control, and cut footage that's worth the climb to 400 feet.
The certificate is the floor. What you build on top of it is the whole point.
If you've read this far, you're one of two people. Either you're about to go get certified yourself — good, do it, it's worth every hour — or you're a couple, an agent, or a brand picturing what this looks like when it's done right. If that's you: this is what I do. On every wedding, listing, and brand shoot I take on, the aerial work gets held to the same standard as the rest of the edit. It earns its place or it doesn't make the cut.
Watch the reel above, then come see the rest of my work — and let's get your venue, your property, or your day in the air.