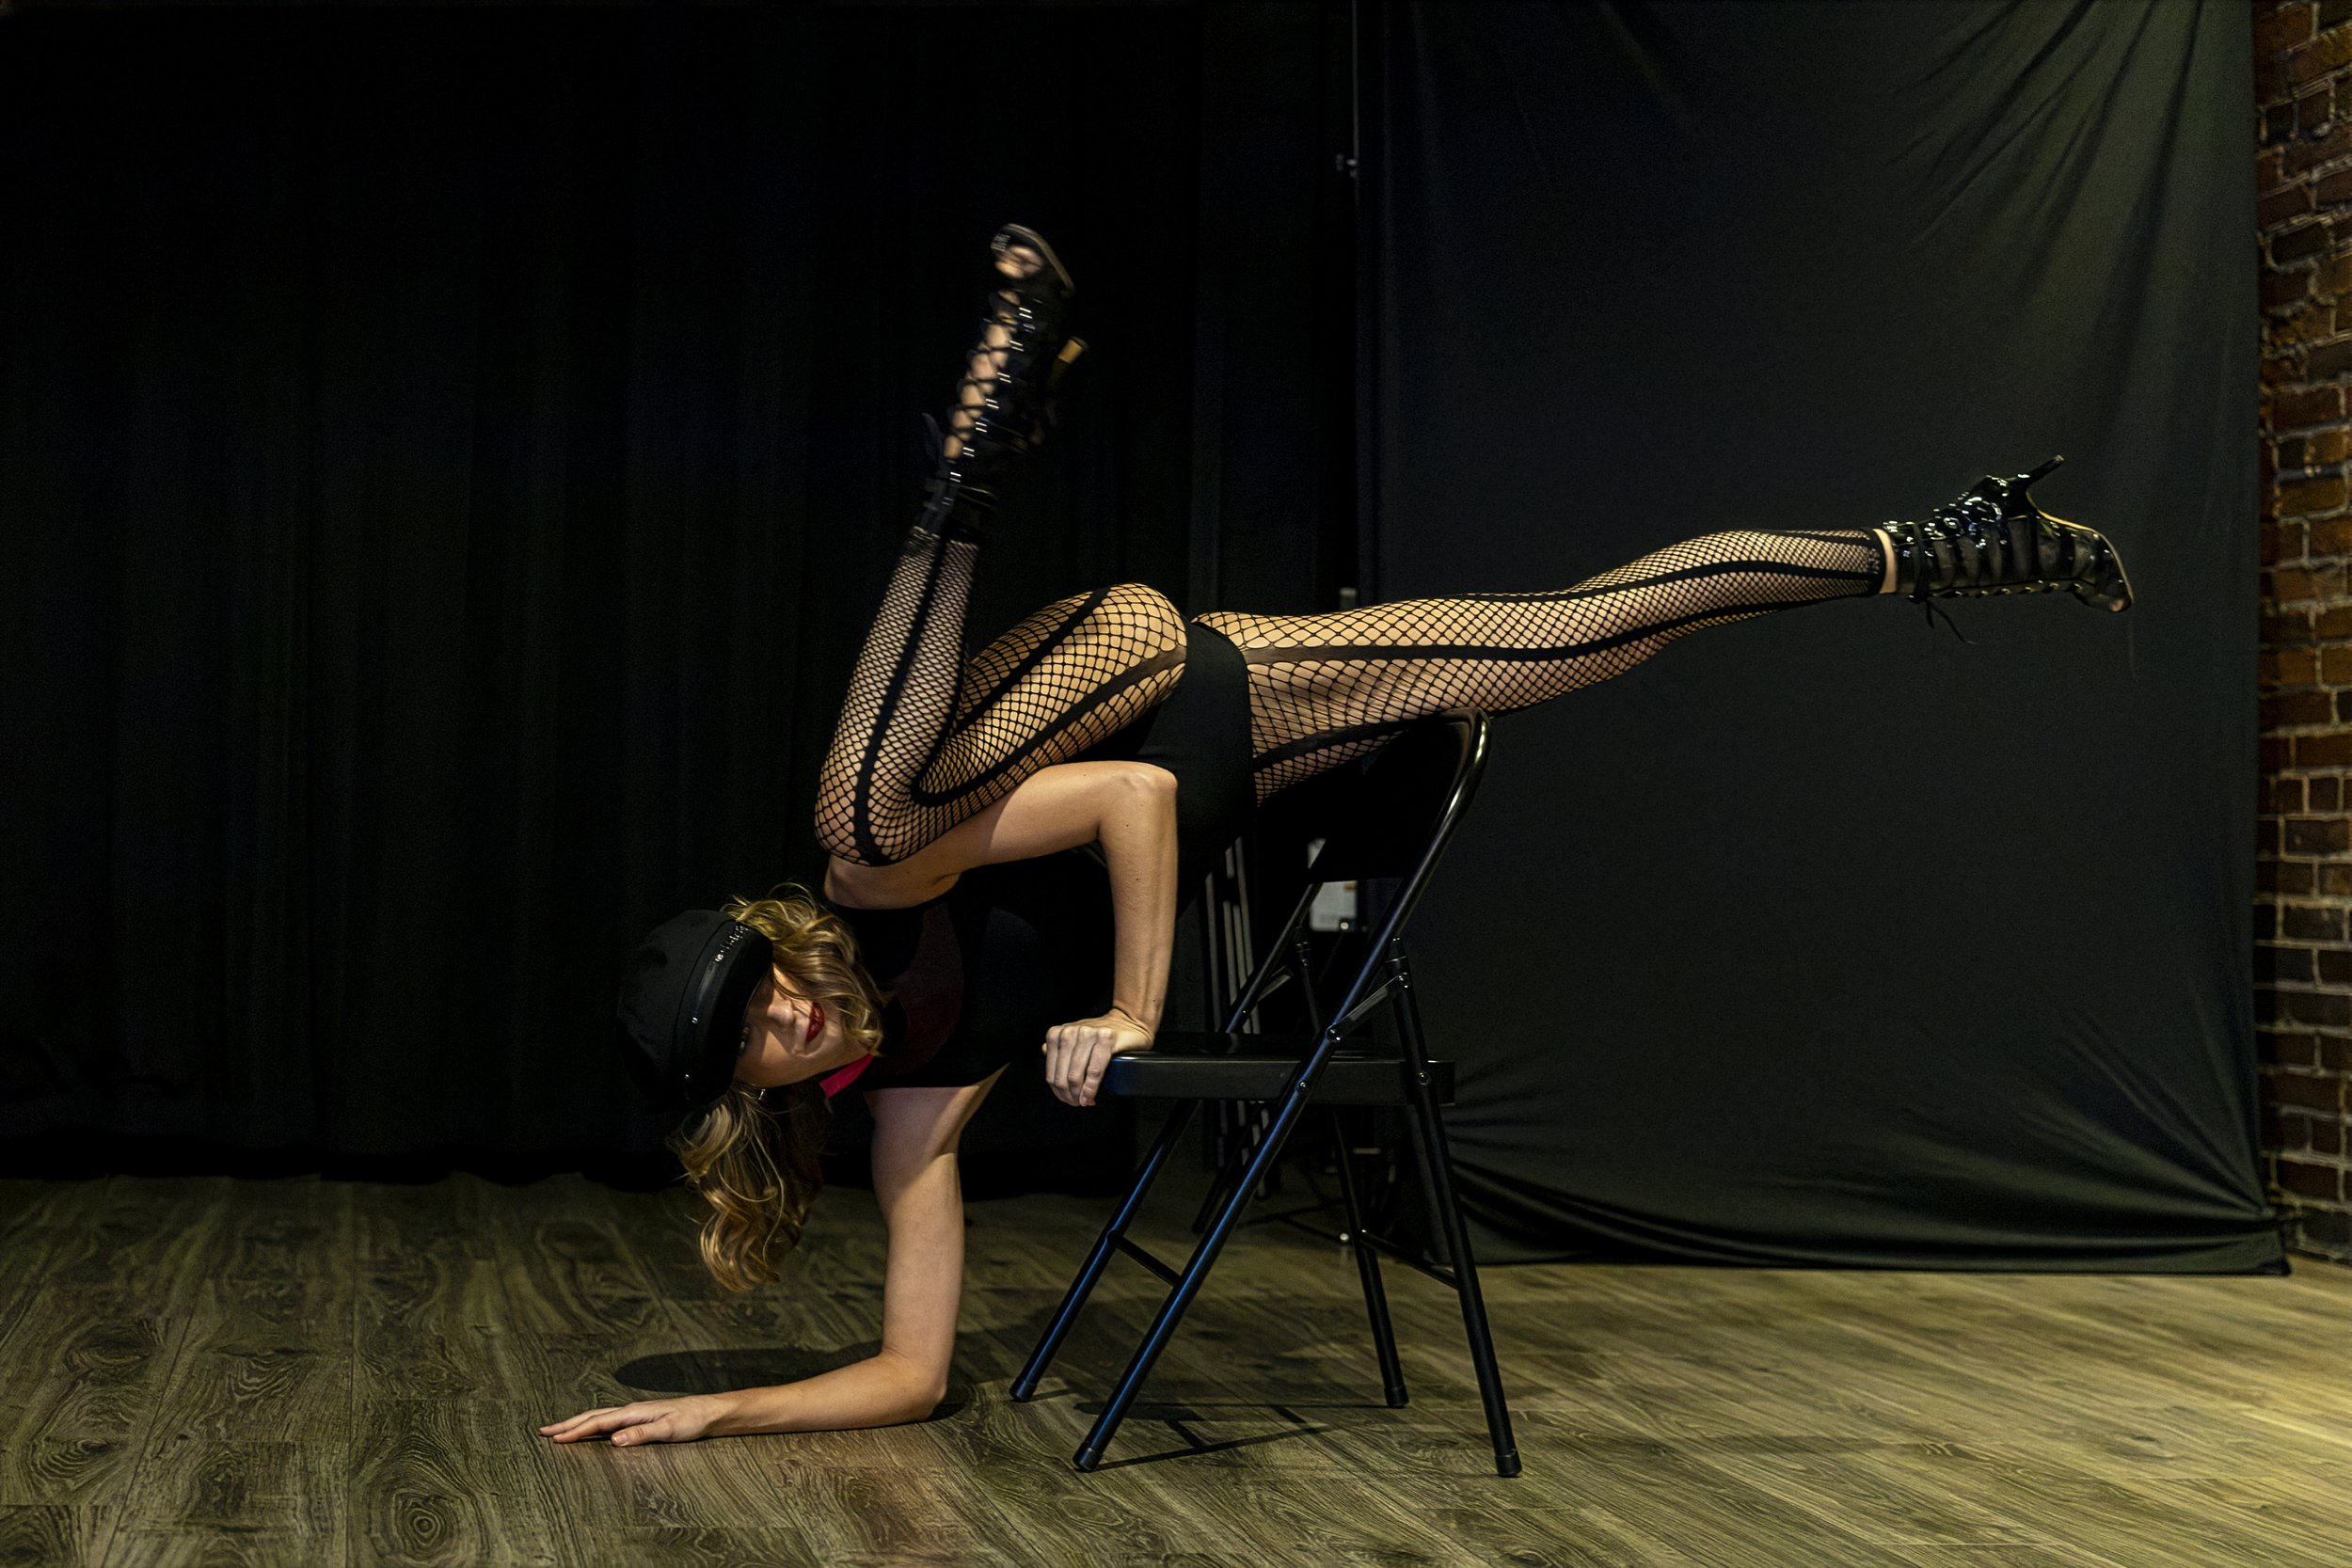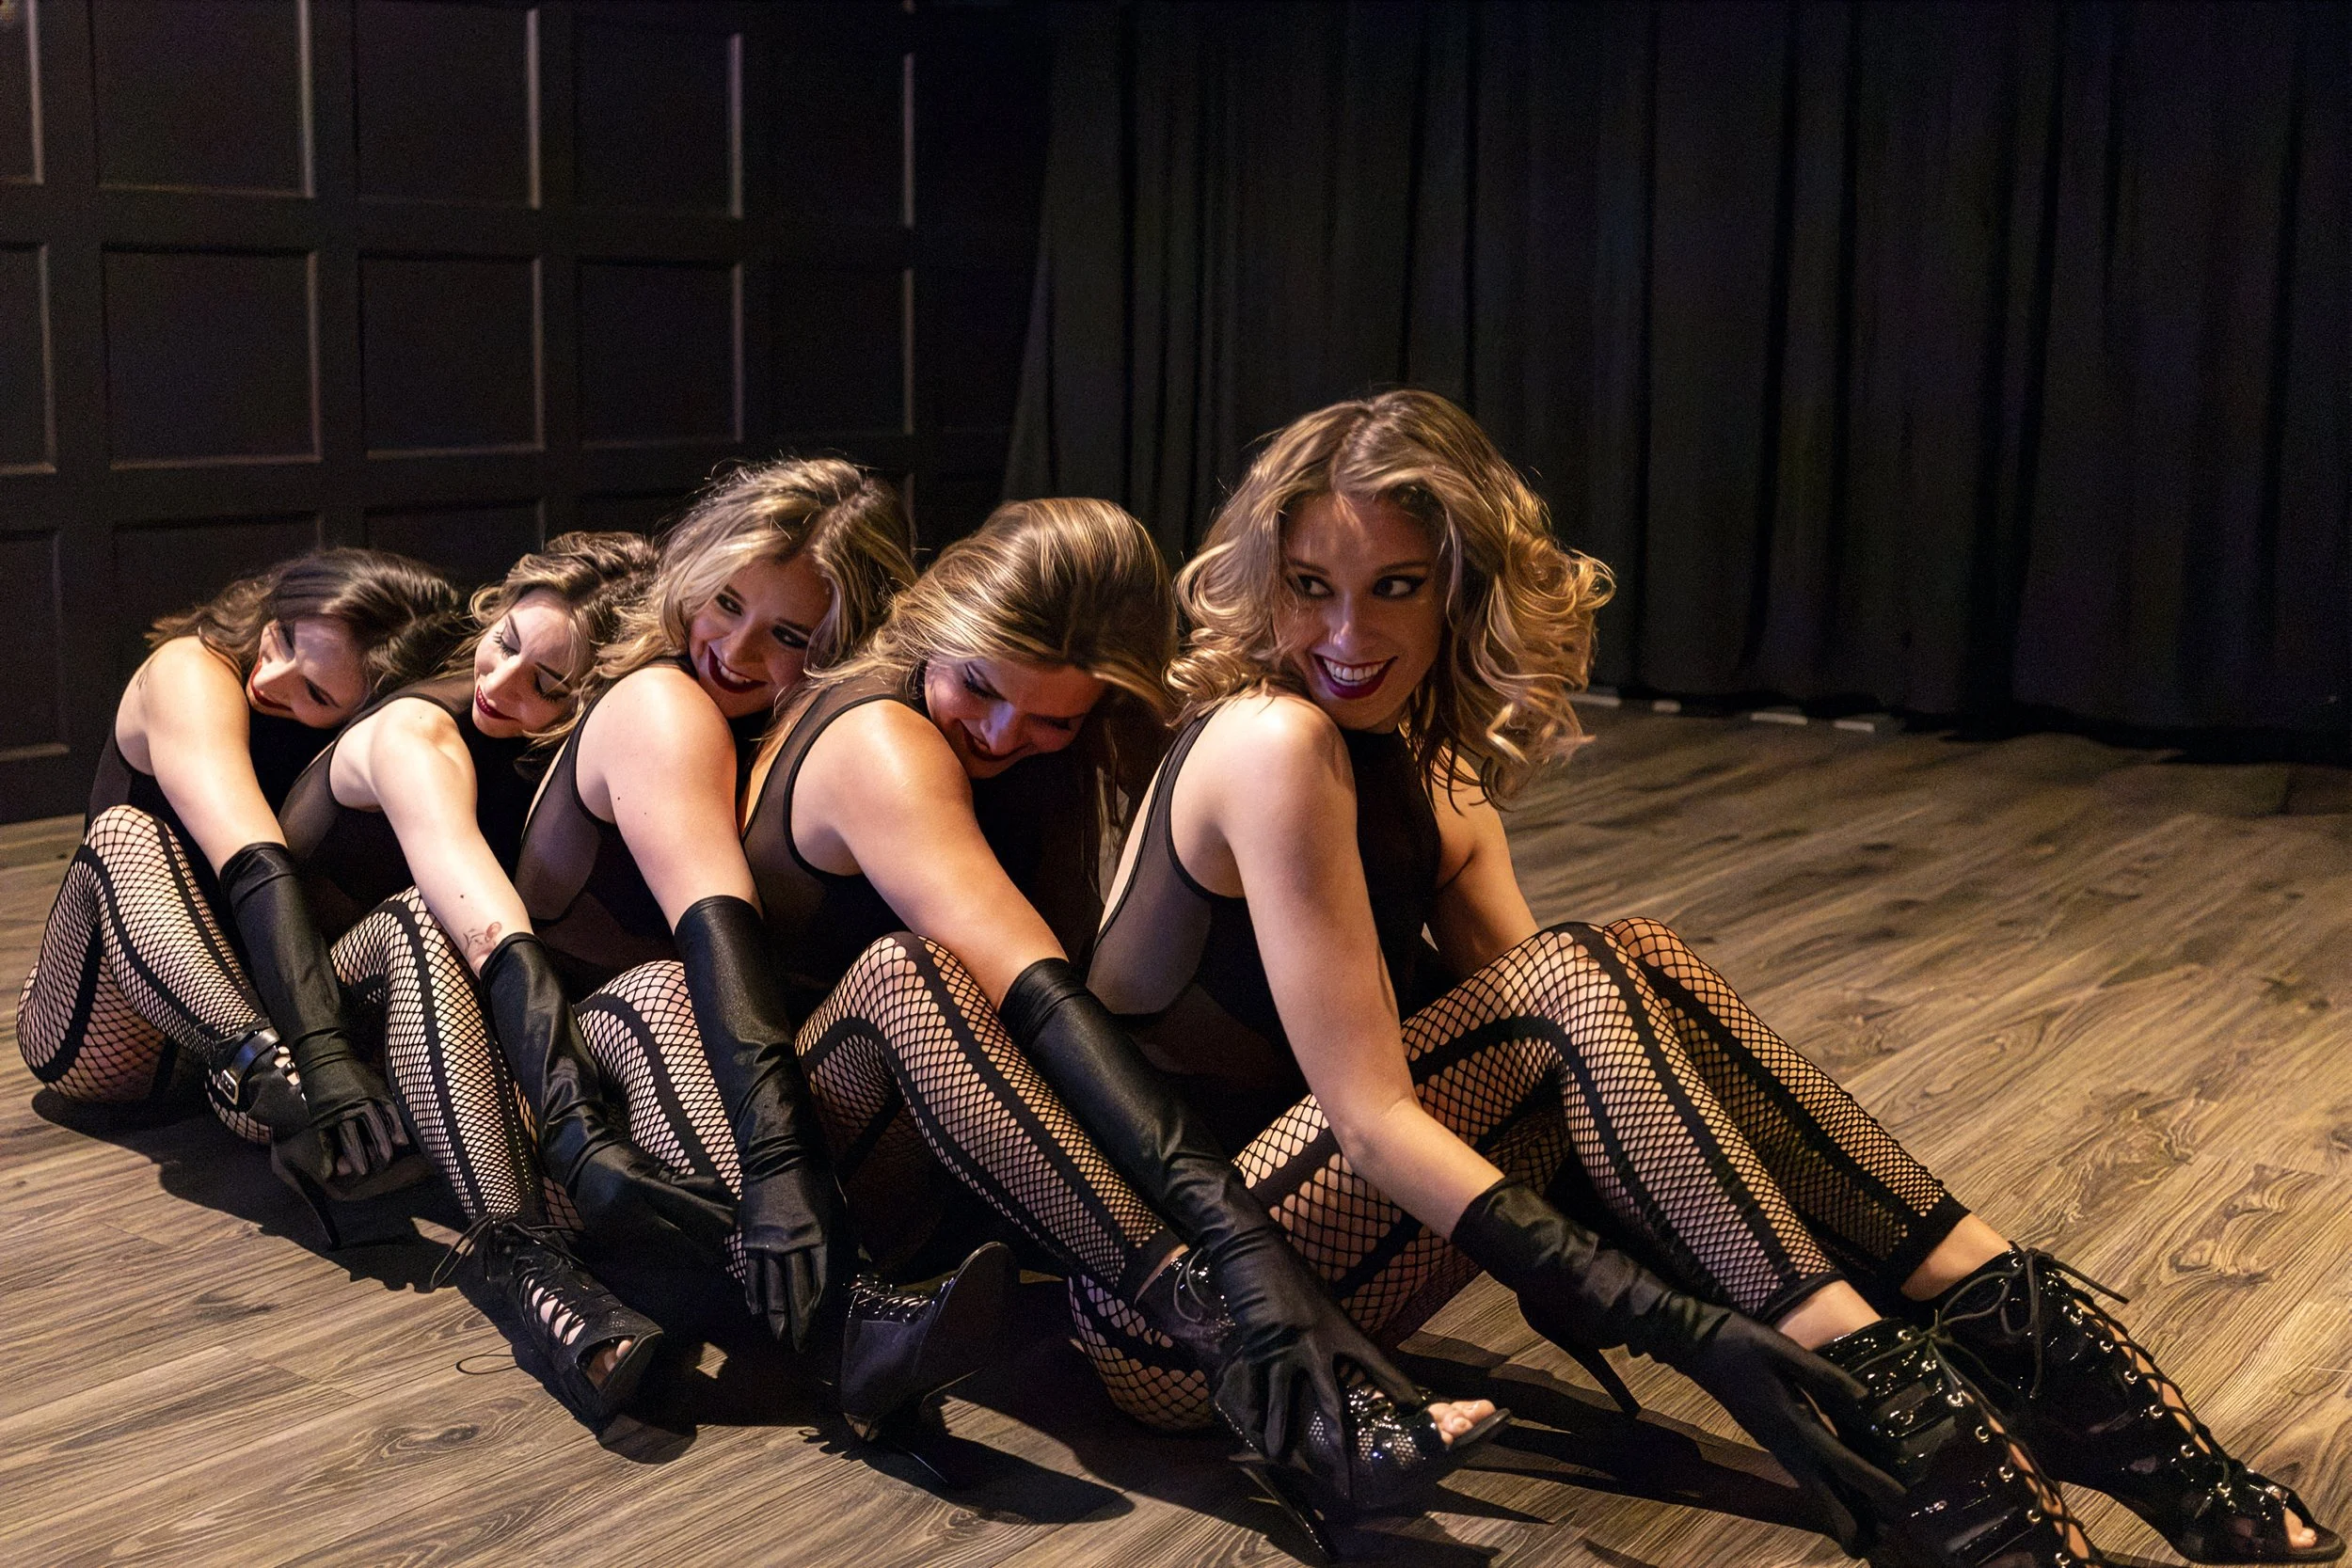
Retouching can turn a flawed photograph into a great one. If your settings are a little off, you can usually fix it in post. For Studio portraits, you control the light, the subject and the background, so you don’t have to do so much work on the backend.
You have less control with event event photography. You don’t control the lighting or the subject, and sometimes there’s barely enough light to work with at all, especially if the client insists you don’t use any of your own lighting.
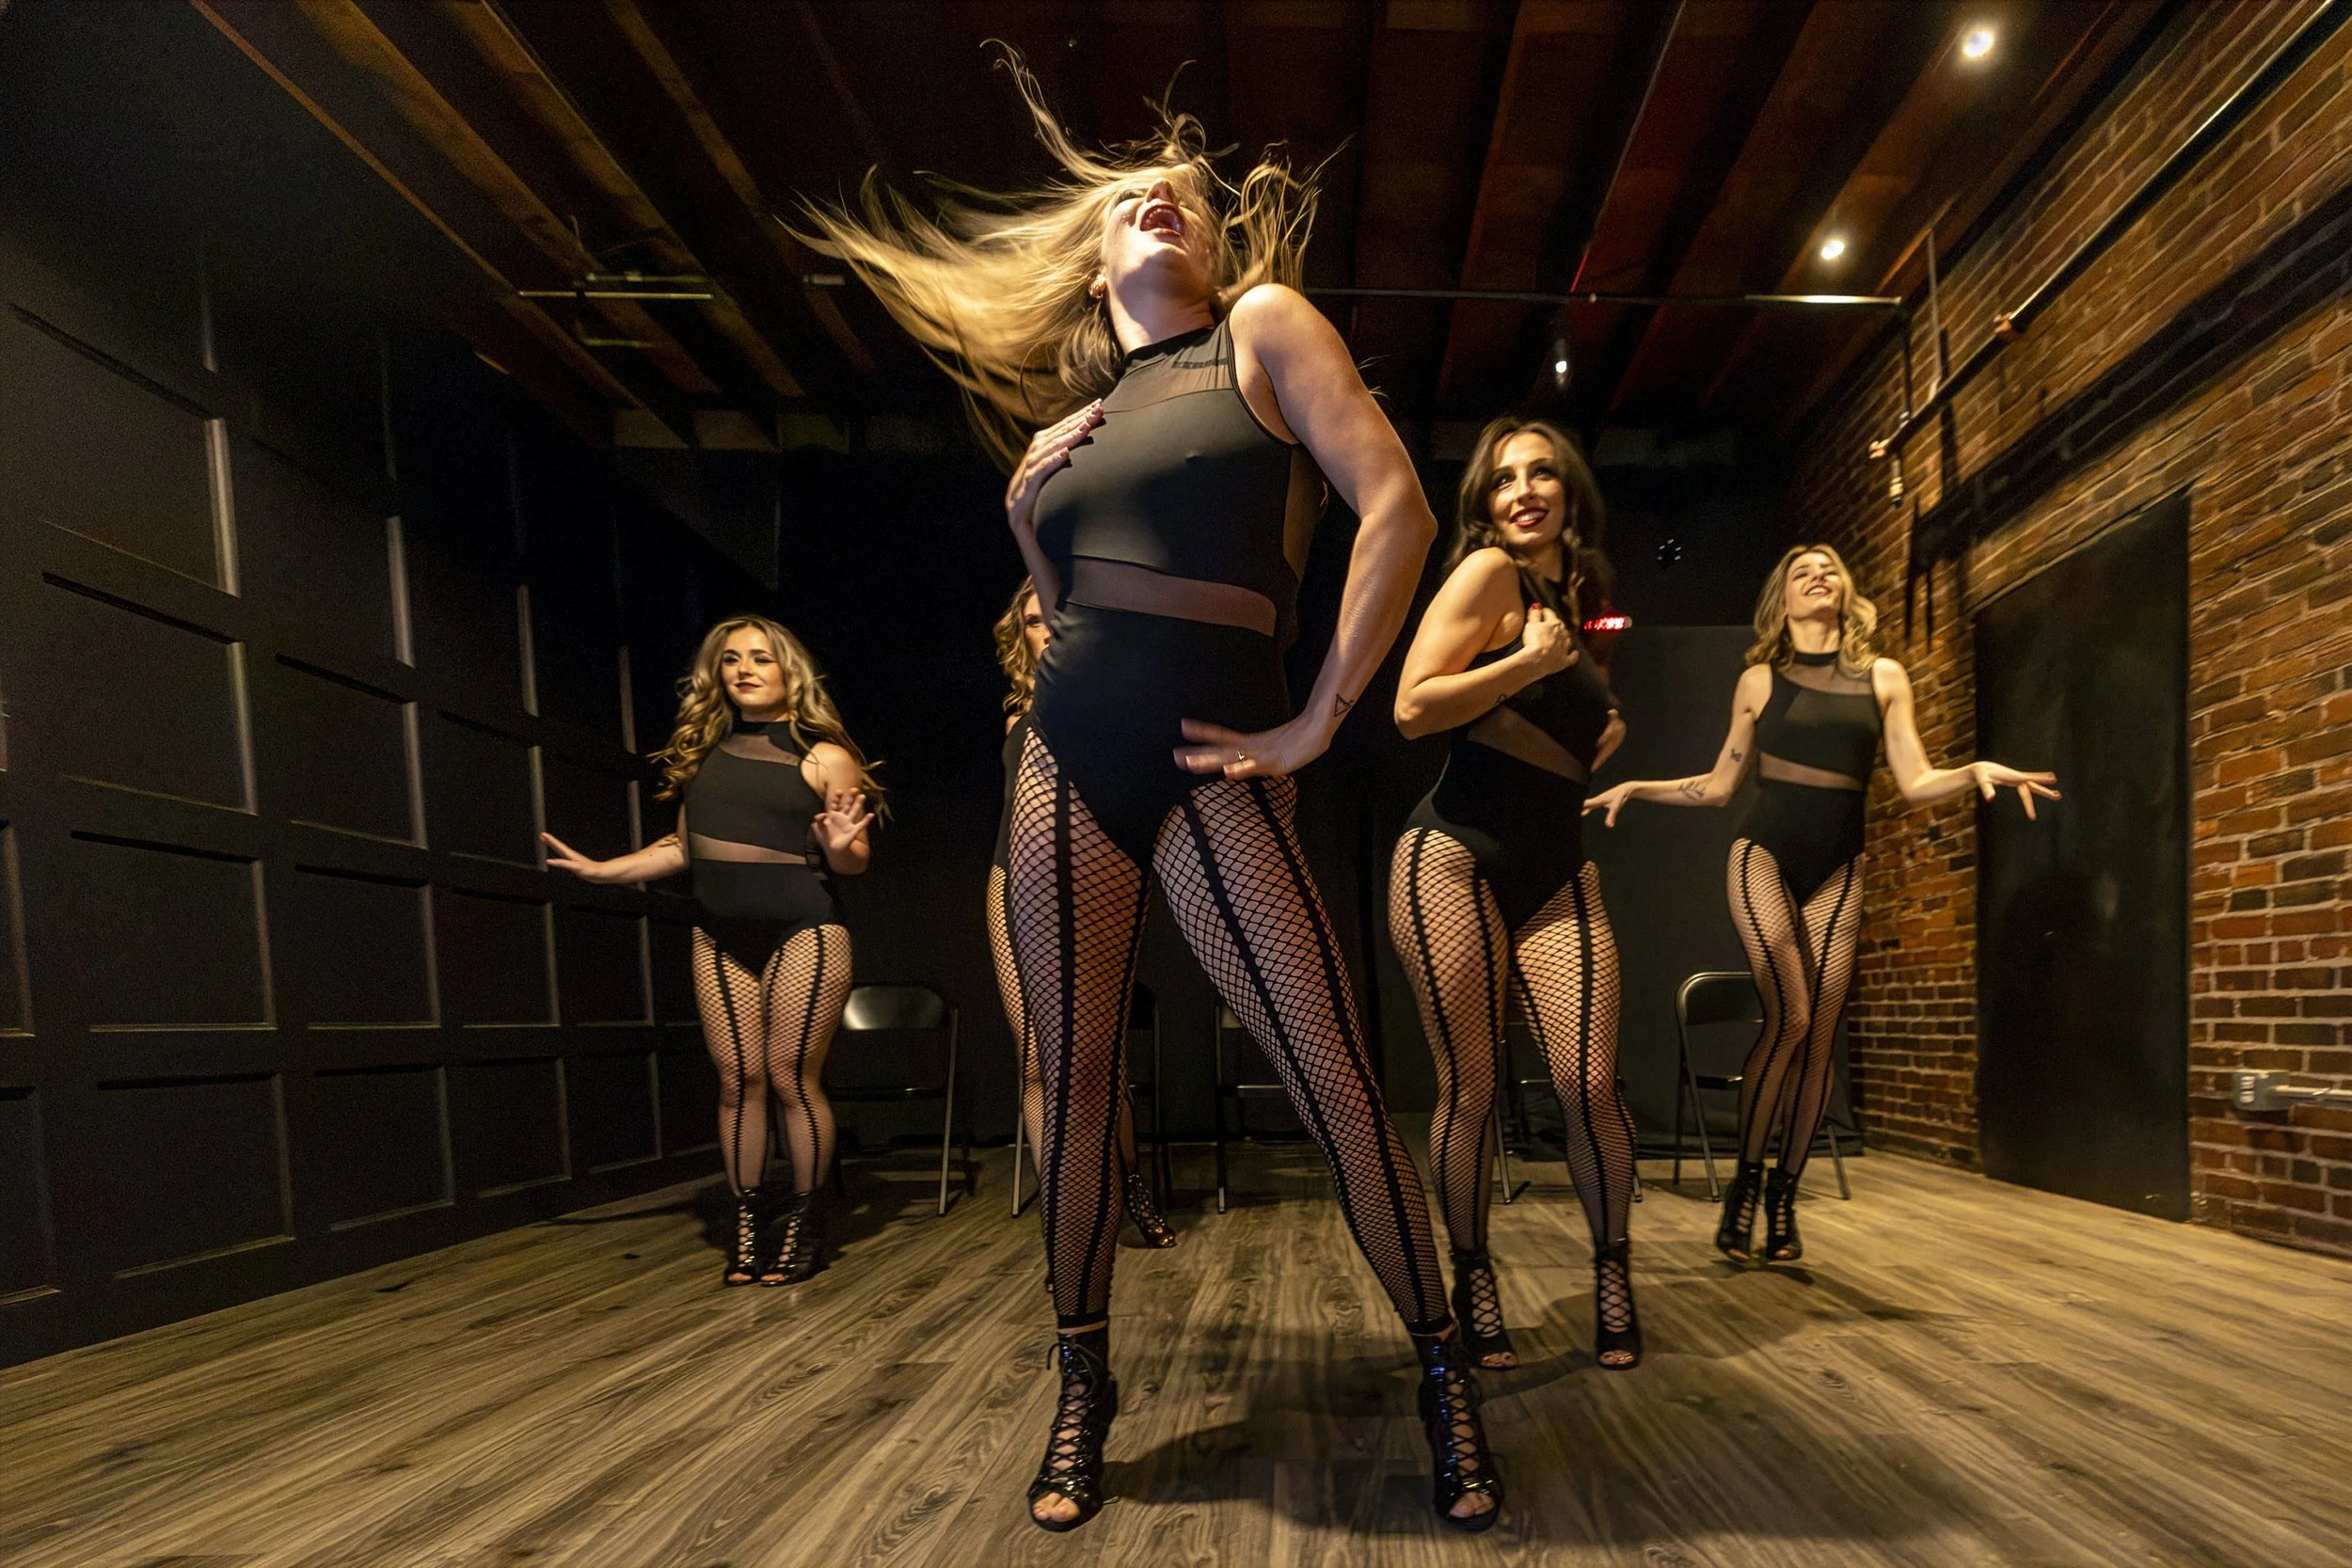
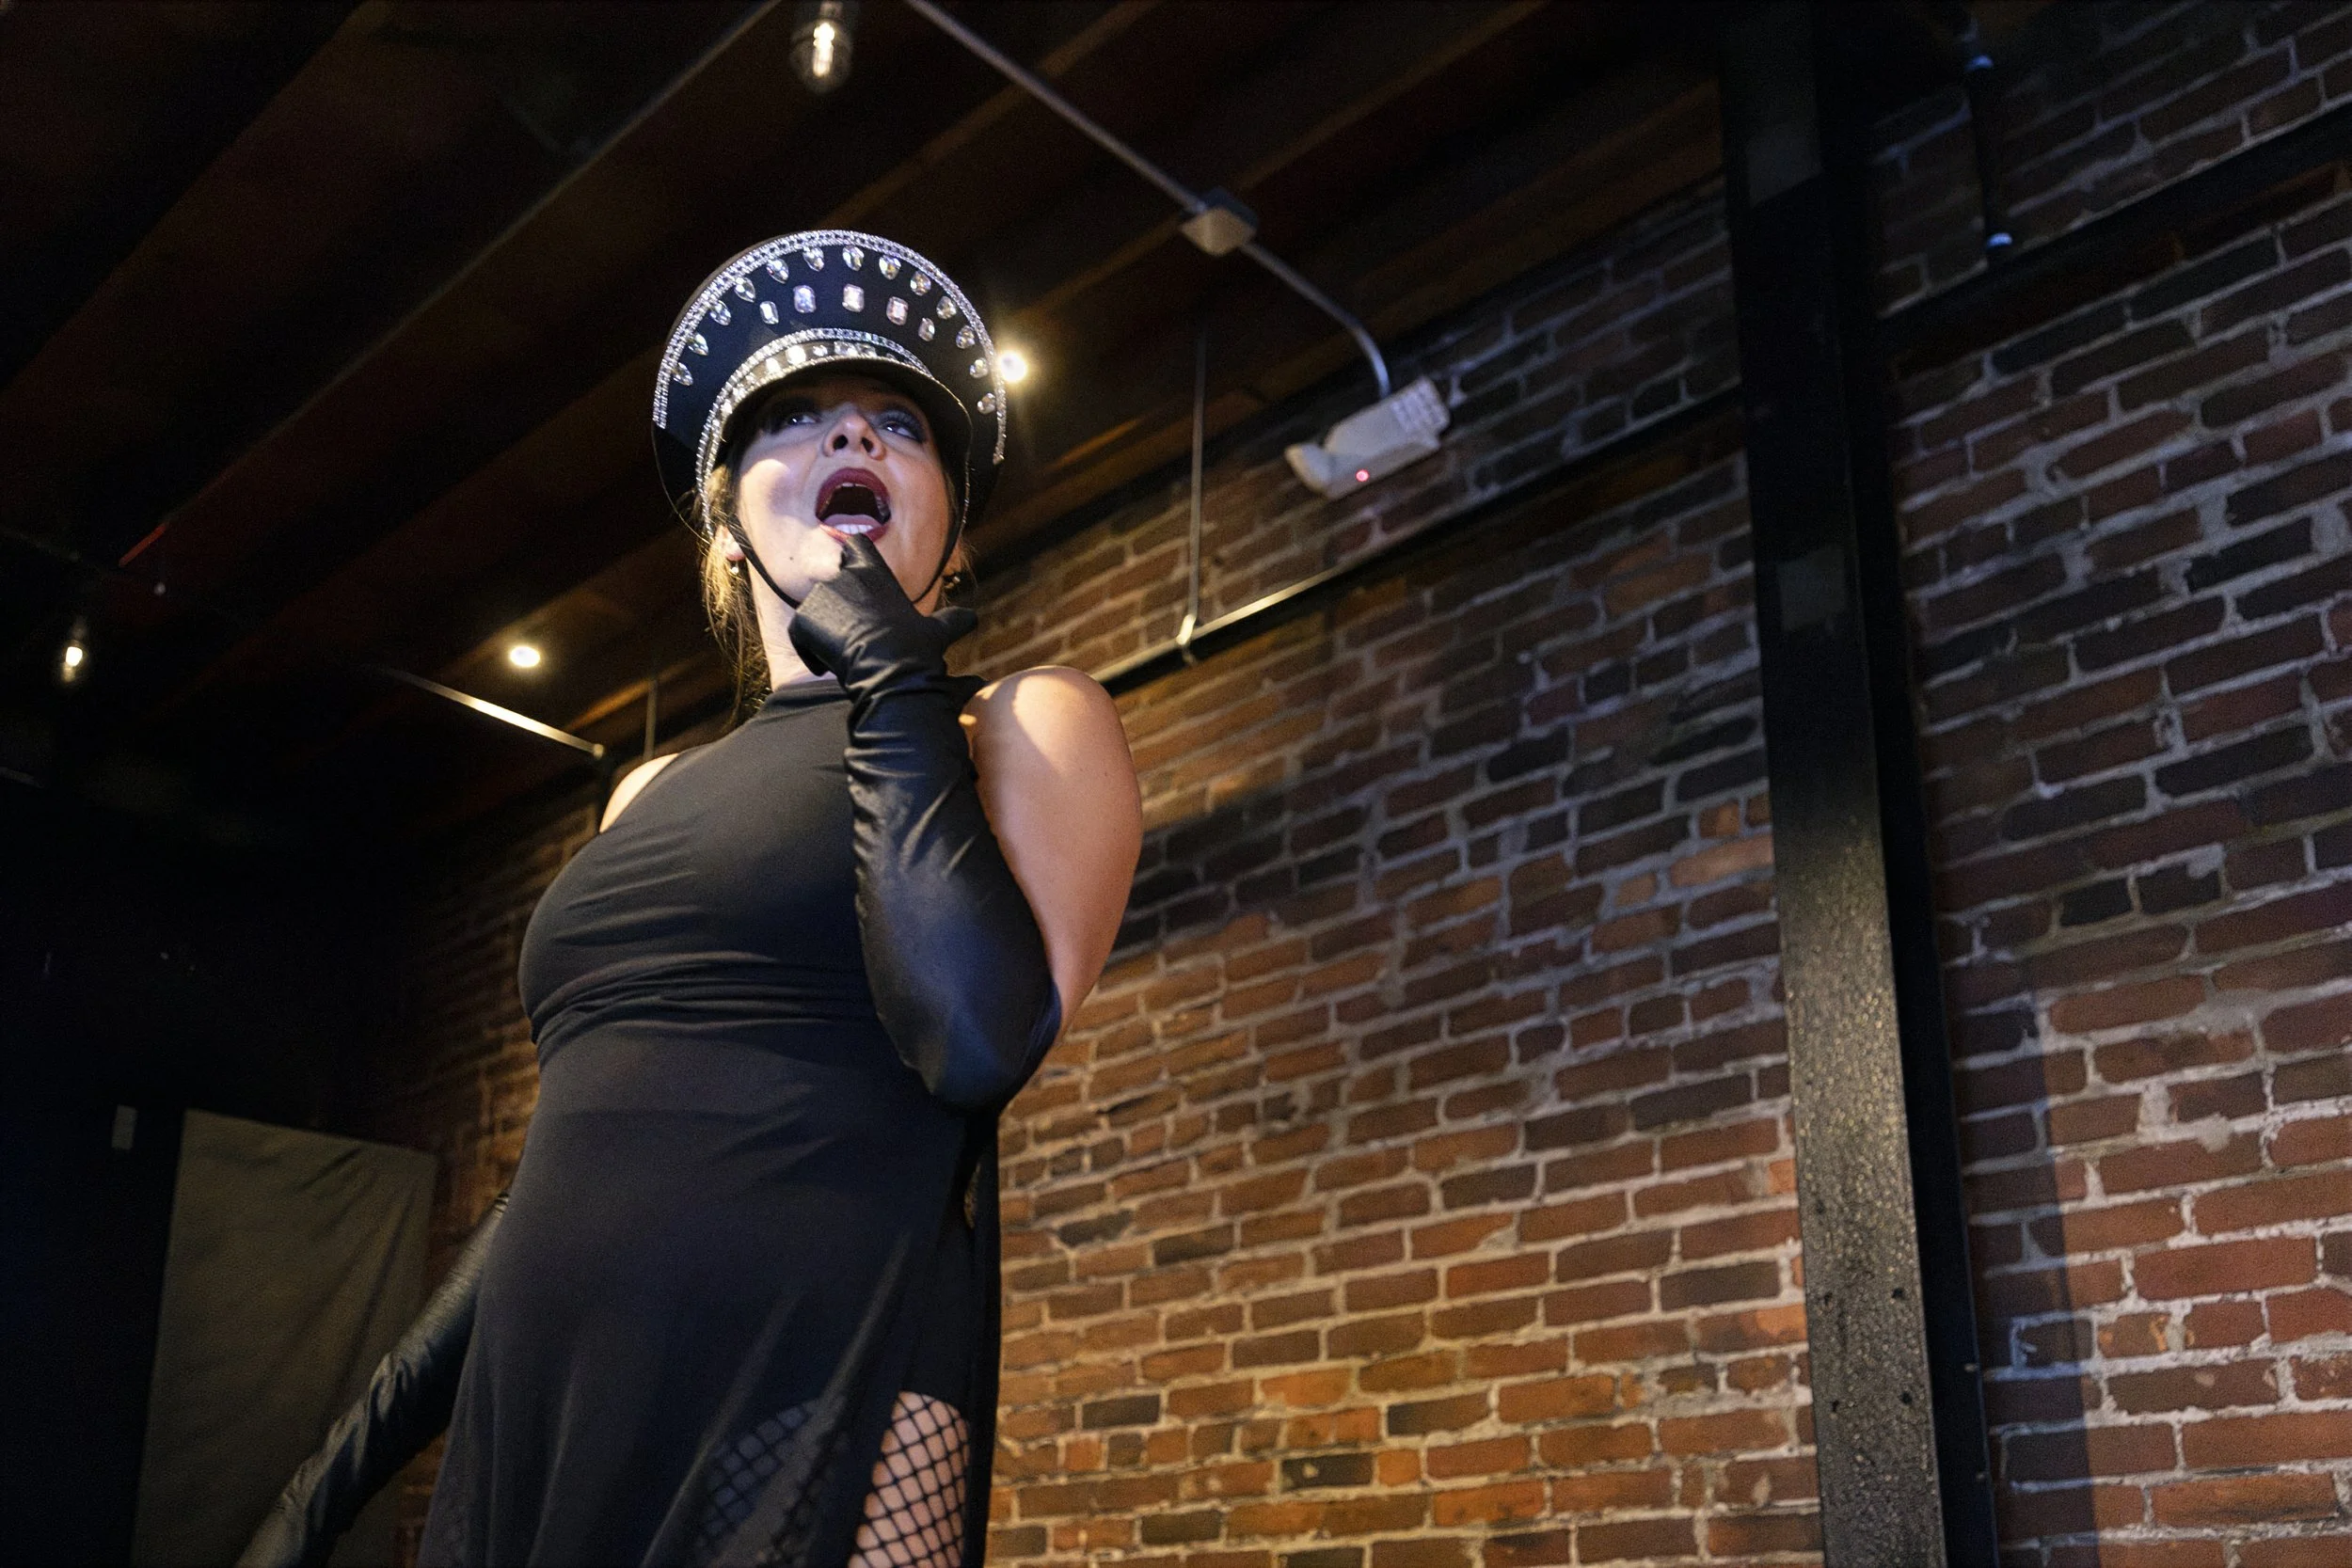
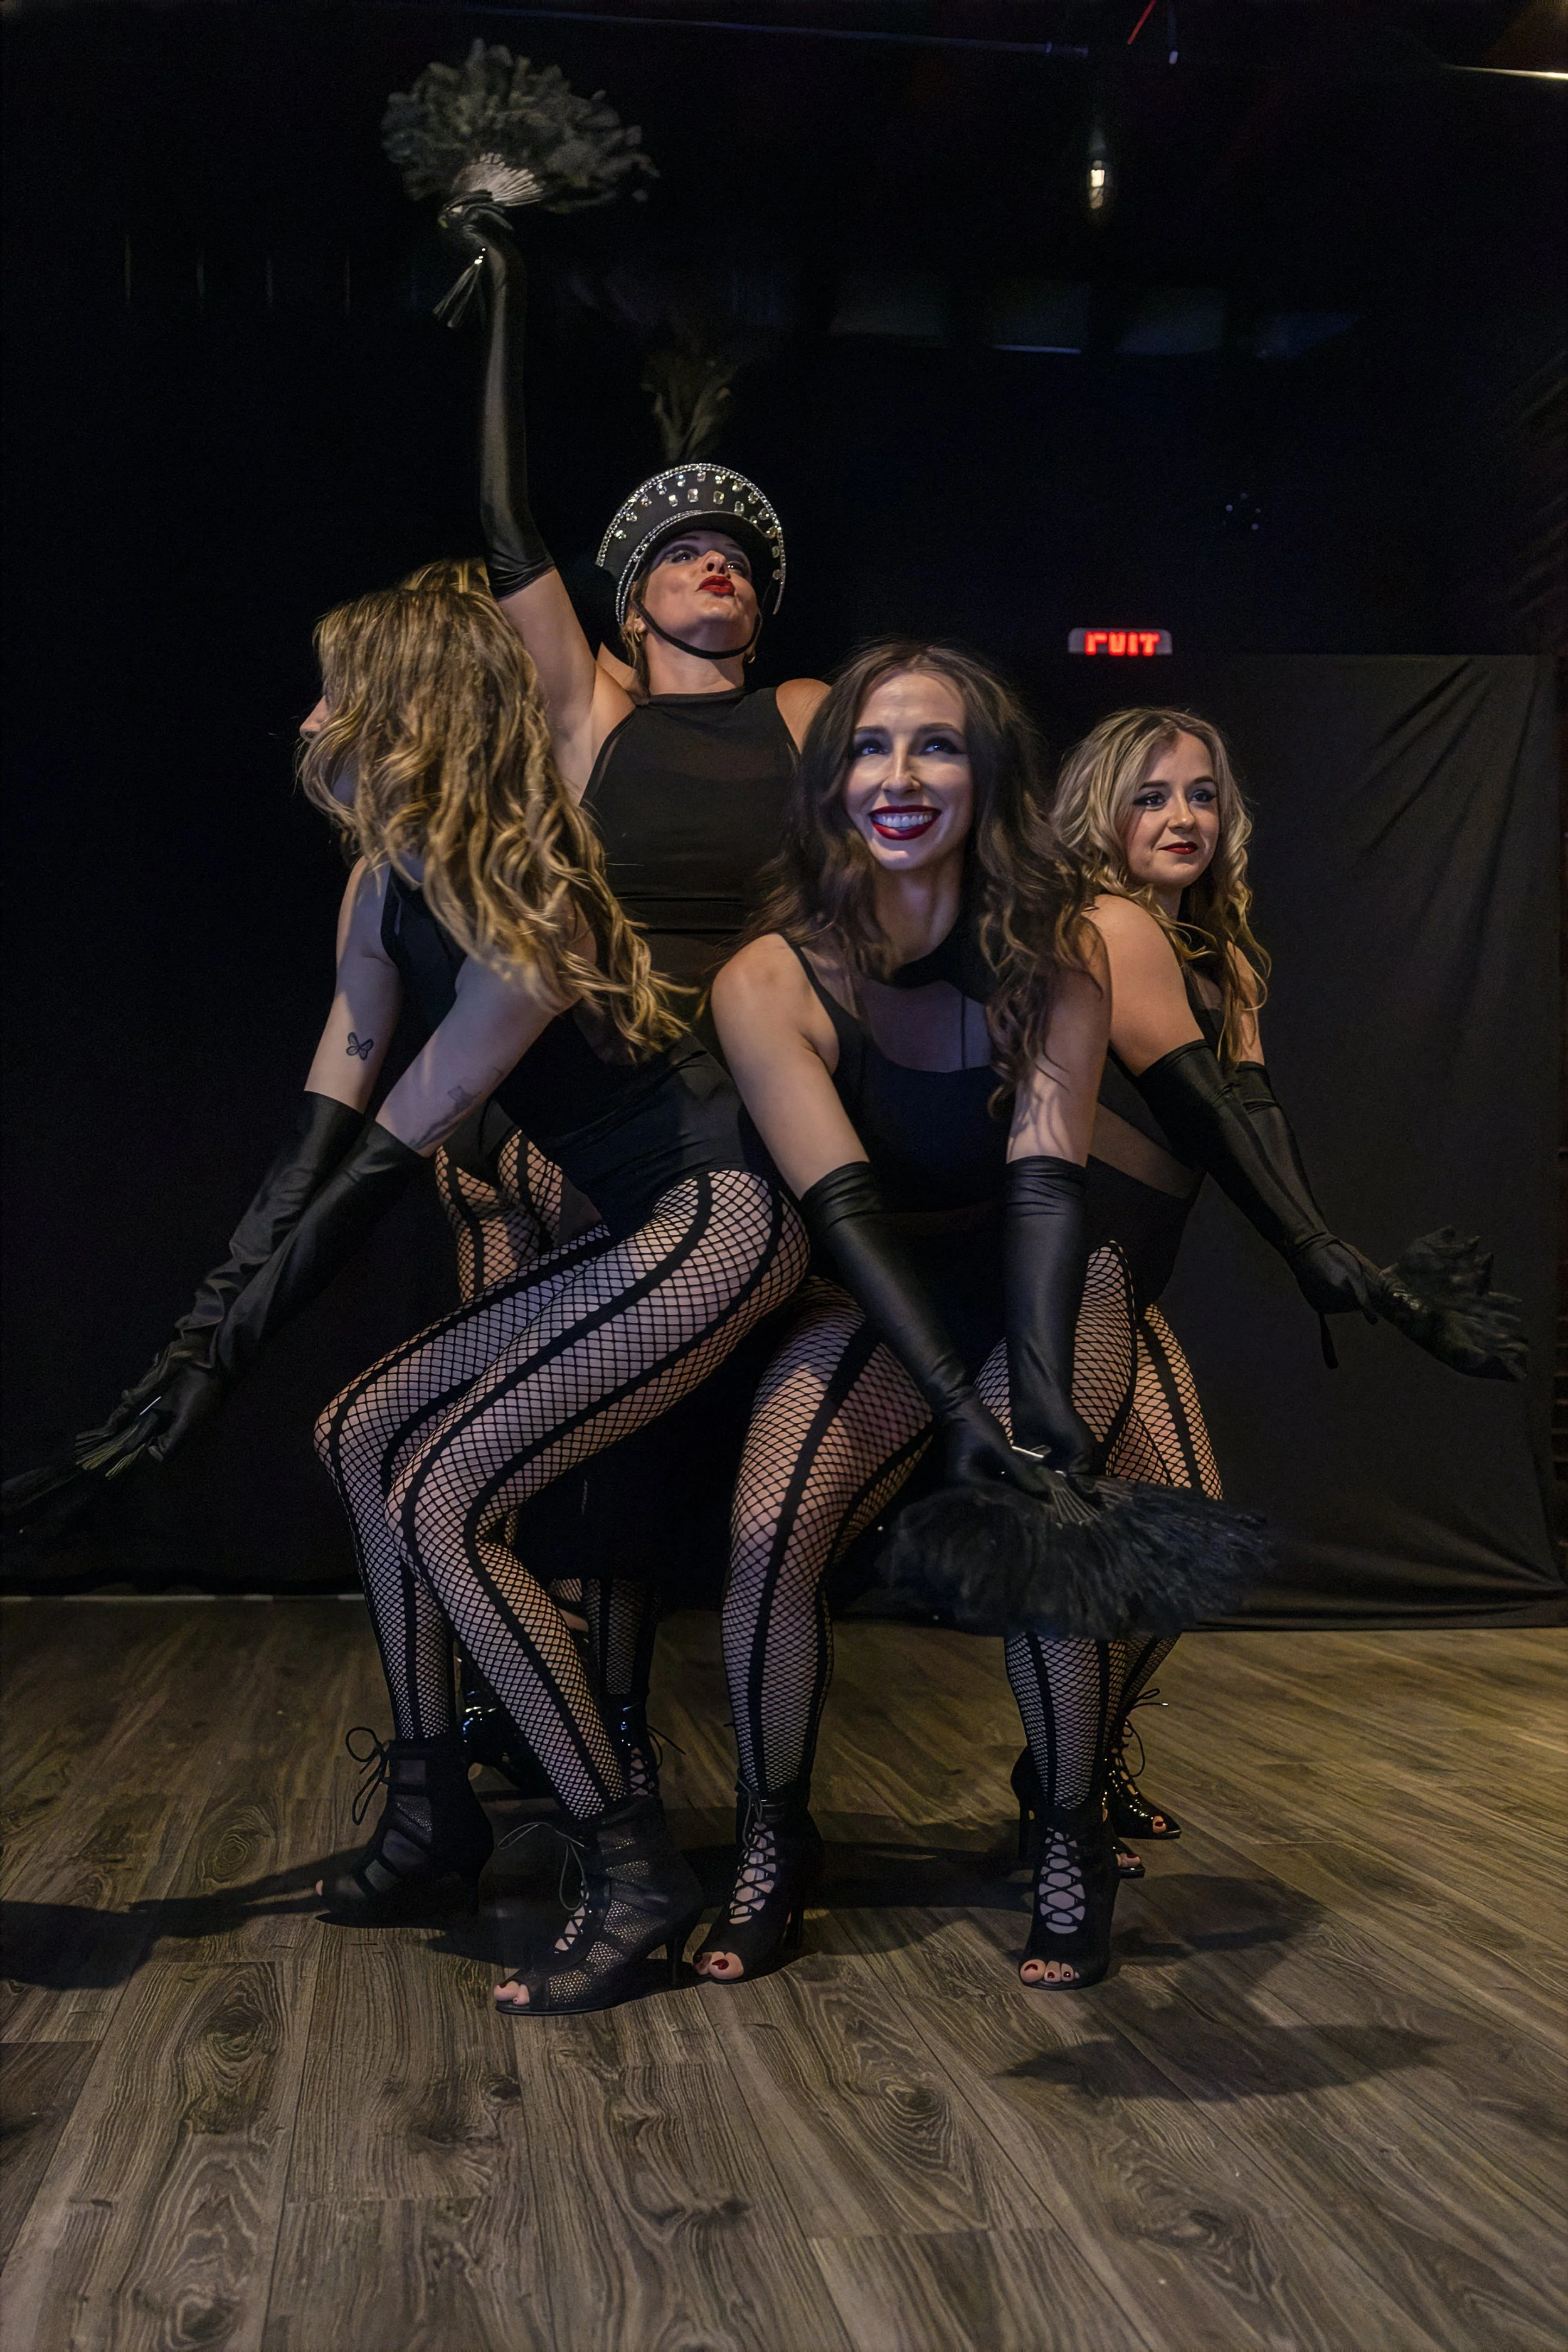
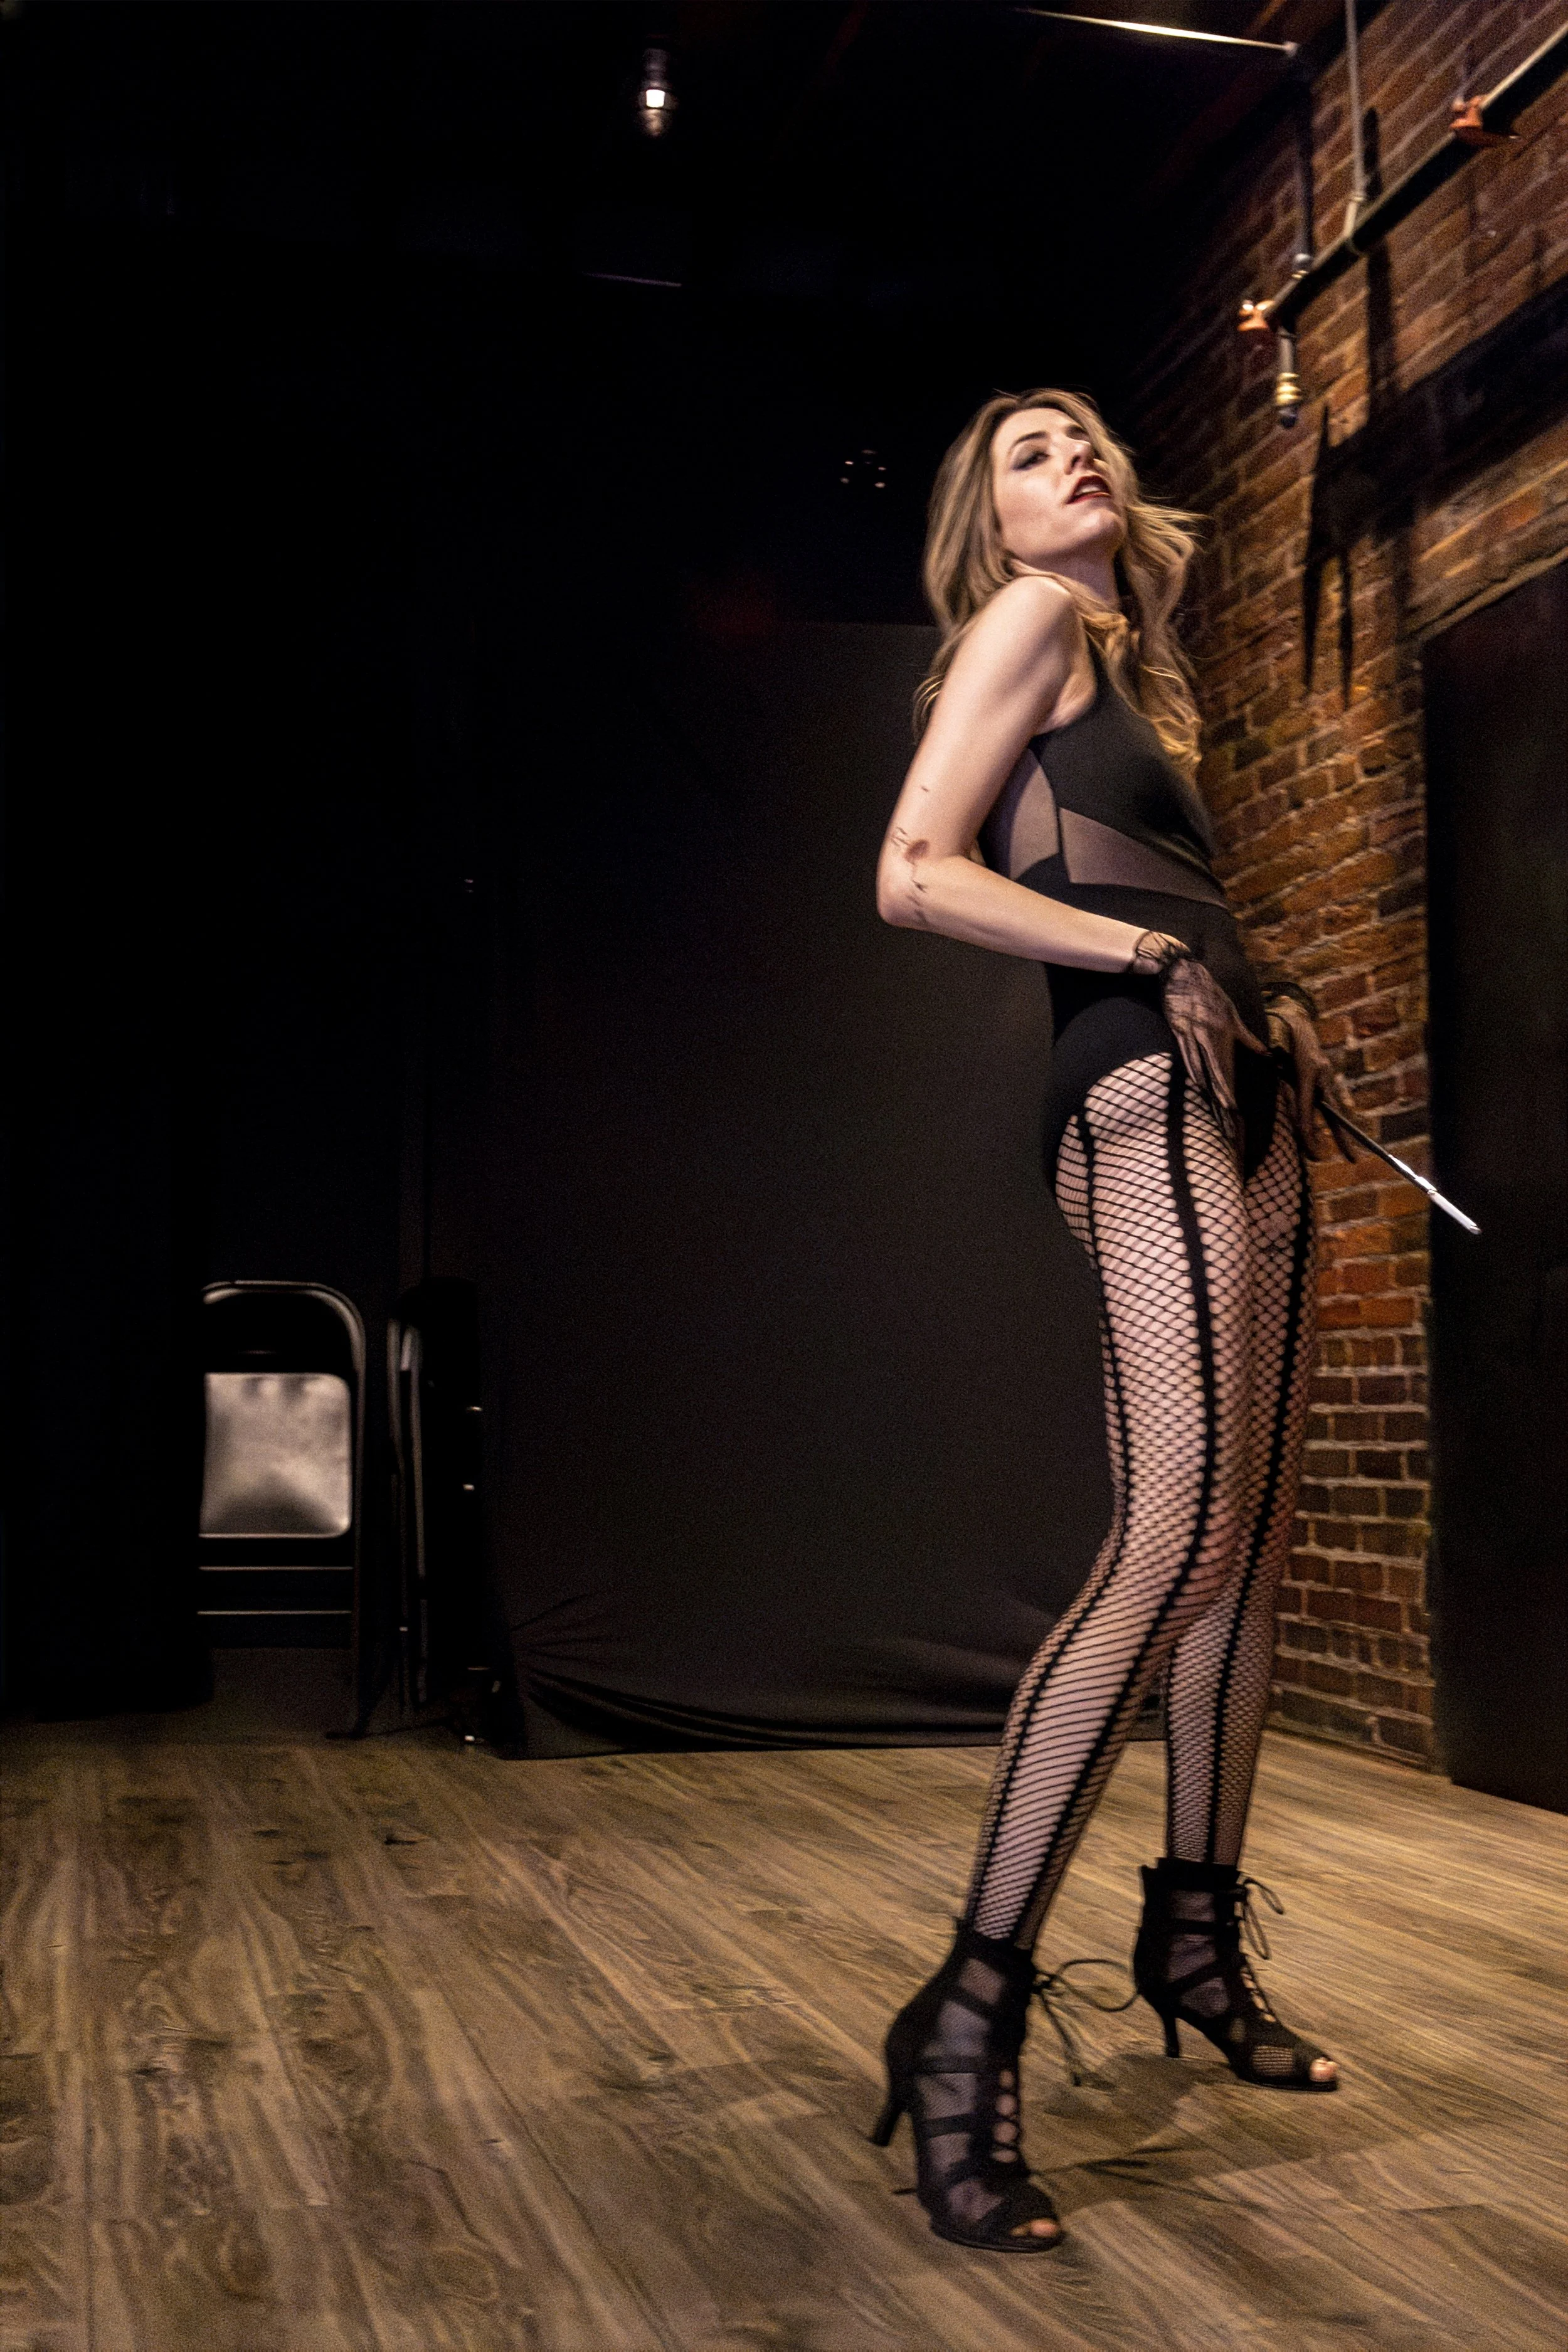
I recently photographed a members-only event that was about as dark as a room gets while still technically being lit. There was no stage, no proper lighting and nothing to bounce off. There were a few ceiling cans, a glowing EXIT sign and a lot of black fabric. Here’s what I did in camera and in post to make those photos work.
In Camera: Don’t Drop Your Shutter Speed
When the room is this dark, you’ll be tempted to slow the shutter to 1/40 or 1/60. Don’t.
Yes, you’ll see more through the viewfinder. You’ll also limit yourself to subjects who hold almost perfectly still, or get motion blur on anyone who moves. At an event like this, the people you’re photographing are dancing, turning, laughing and flipping their hair. They aren’t going to hold a pose for you to come out with enough photos.
My rule:
1/125 minimum for people moving at a normal pace
1/200 or faster for fast movement such as dancing, spins and hair flips
To get there, I let the ISO climb. I shot this event at ISO 8000 and 12800. That’s a lot of grain, and I knew it, but grain can be fixed. Motion blur from a slow shutter can’t.
I shot on my Canon RF 15-35mm, f/2.8. There just wasn’t enough light in the room for me to have any room to adjust my aperture. Even at 15mm, there were moments I was still too close to the performers. The room didn’t leave much space to back up. Shooting that wide from that close also tilts your verticals, which is a big reason Step 1 needed geometry correction.
You also may not be able to judge your images on the back of the camera during the session. It’s that dark. Trust the settings. You’re not trying to make a finished image in camera. You’re trying to give yourself good bones to work with afterward.
Step 1: Camera Raw — Color, Exposure and Geometry
Everything starts in Camera Raw with an image that, straight out of camera, is mostly black. Three things happen here:
Color correction. Mixed, weak light sources don’t agree with each other, and the room had a warm/cool split. I set white balance for skin first and let the room fall where it falls.
Brightening. Exposure, shadows and blacks get pulled up to show what the sensor actually captured.
Geometry. Because I couldn’t see the frame clearly through the viewfinder, my verticals weren’t where I wanted them. I straightened and corrected perspective in the Geometry panel. That transform leaves the white wedges you see along the edges, which get cropped out.
The catch is that brightening an ISO 12800 file this much brings out every bit of noise. By the end of this step, the image is clearer but full of grain.
Step 2: Denoise at 65
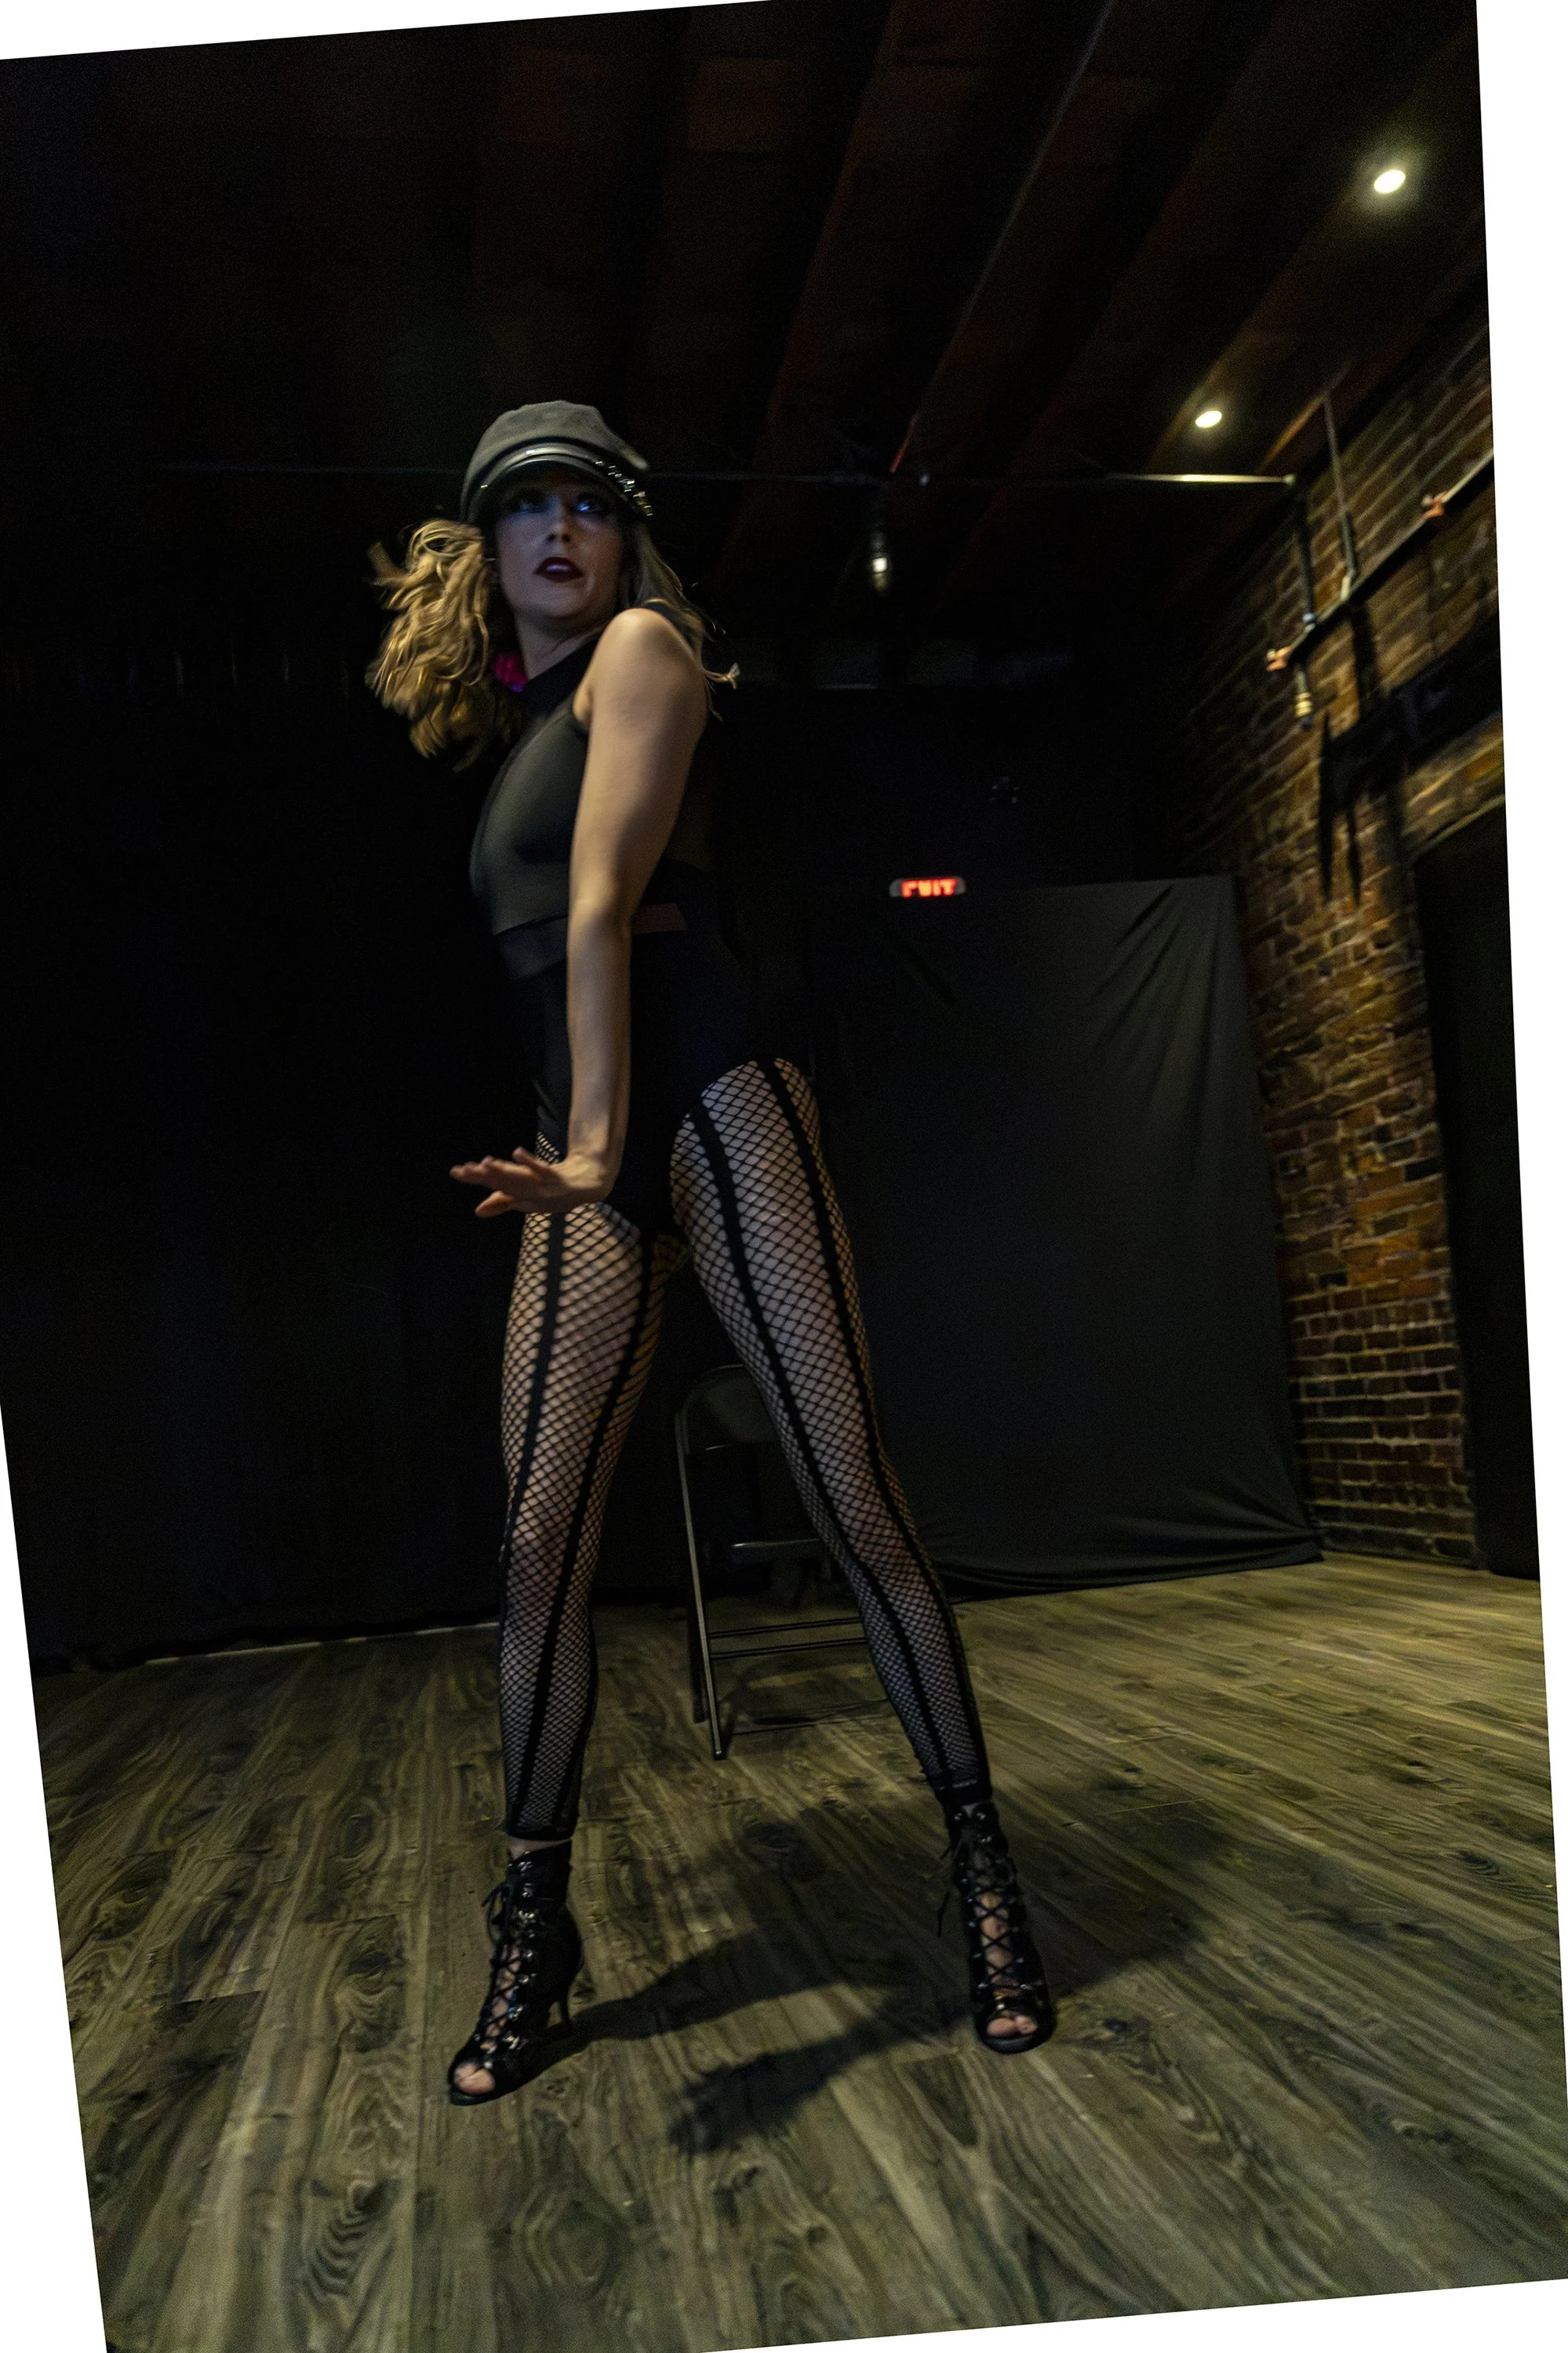
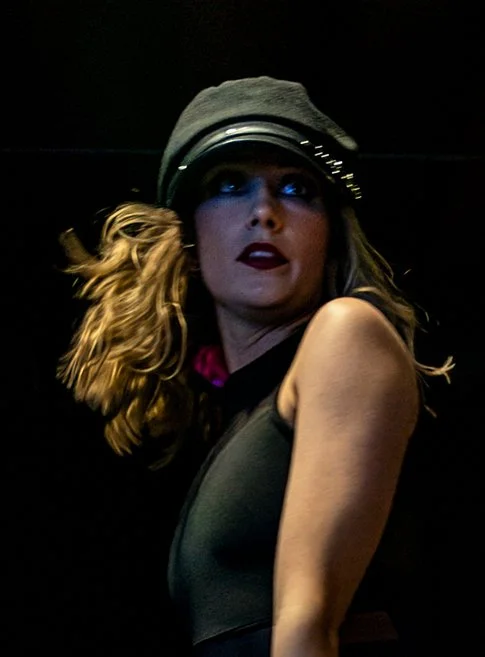
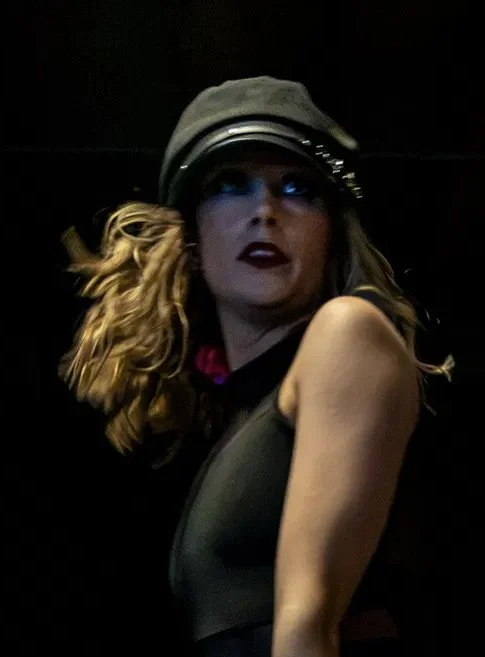
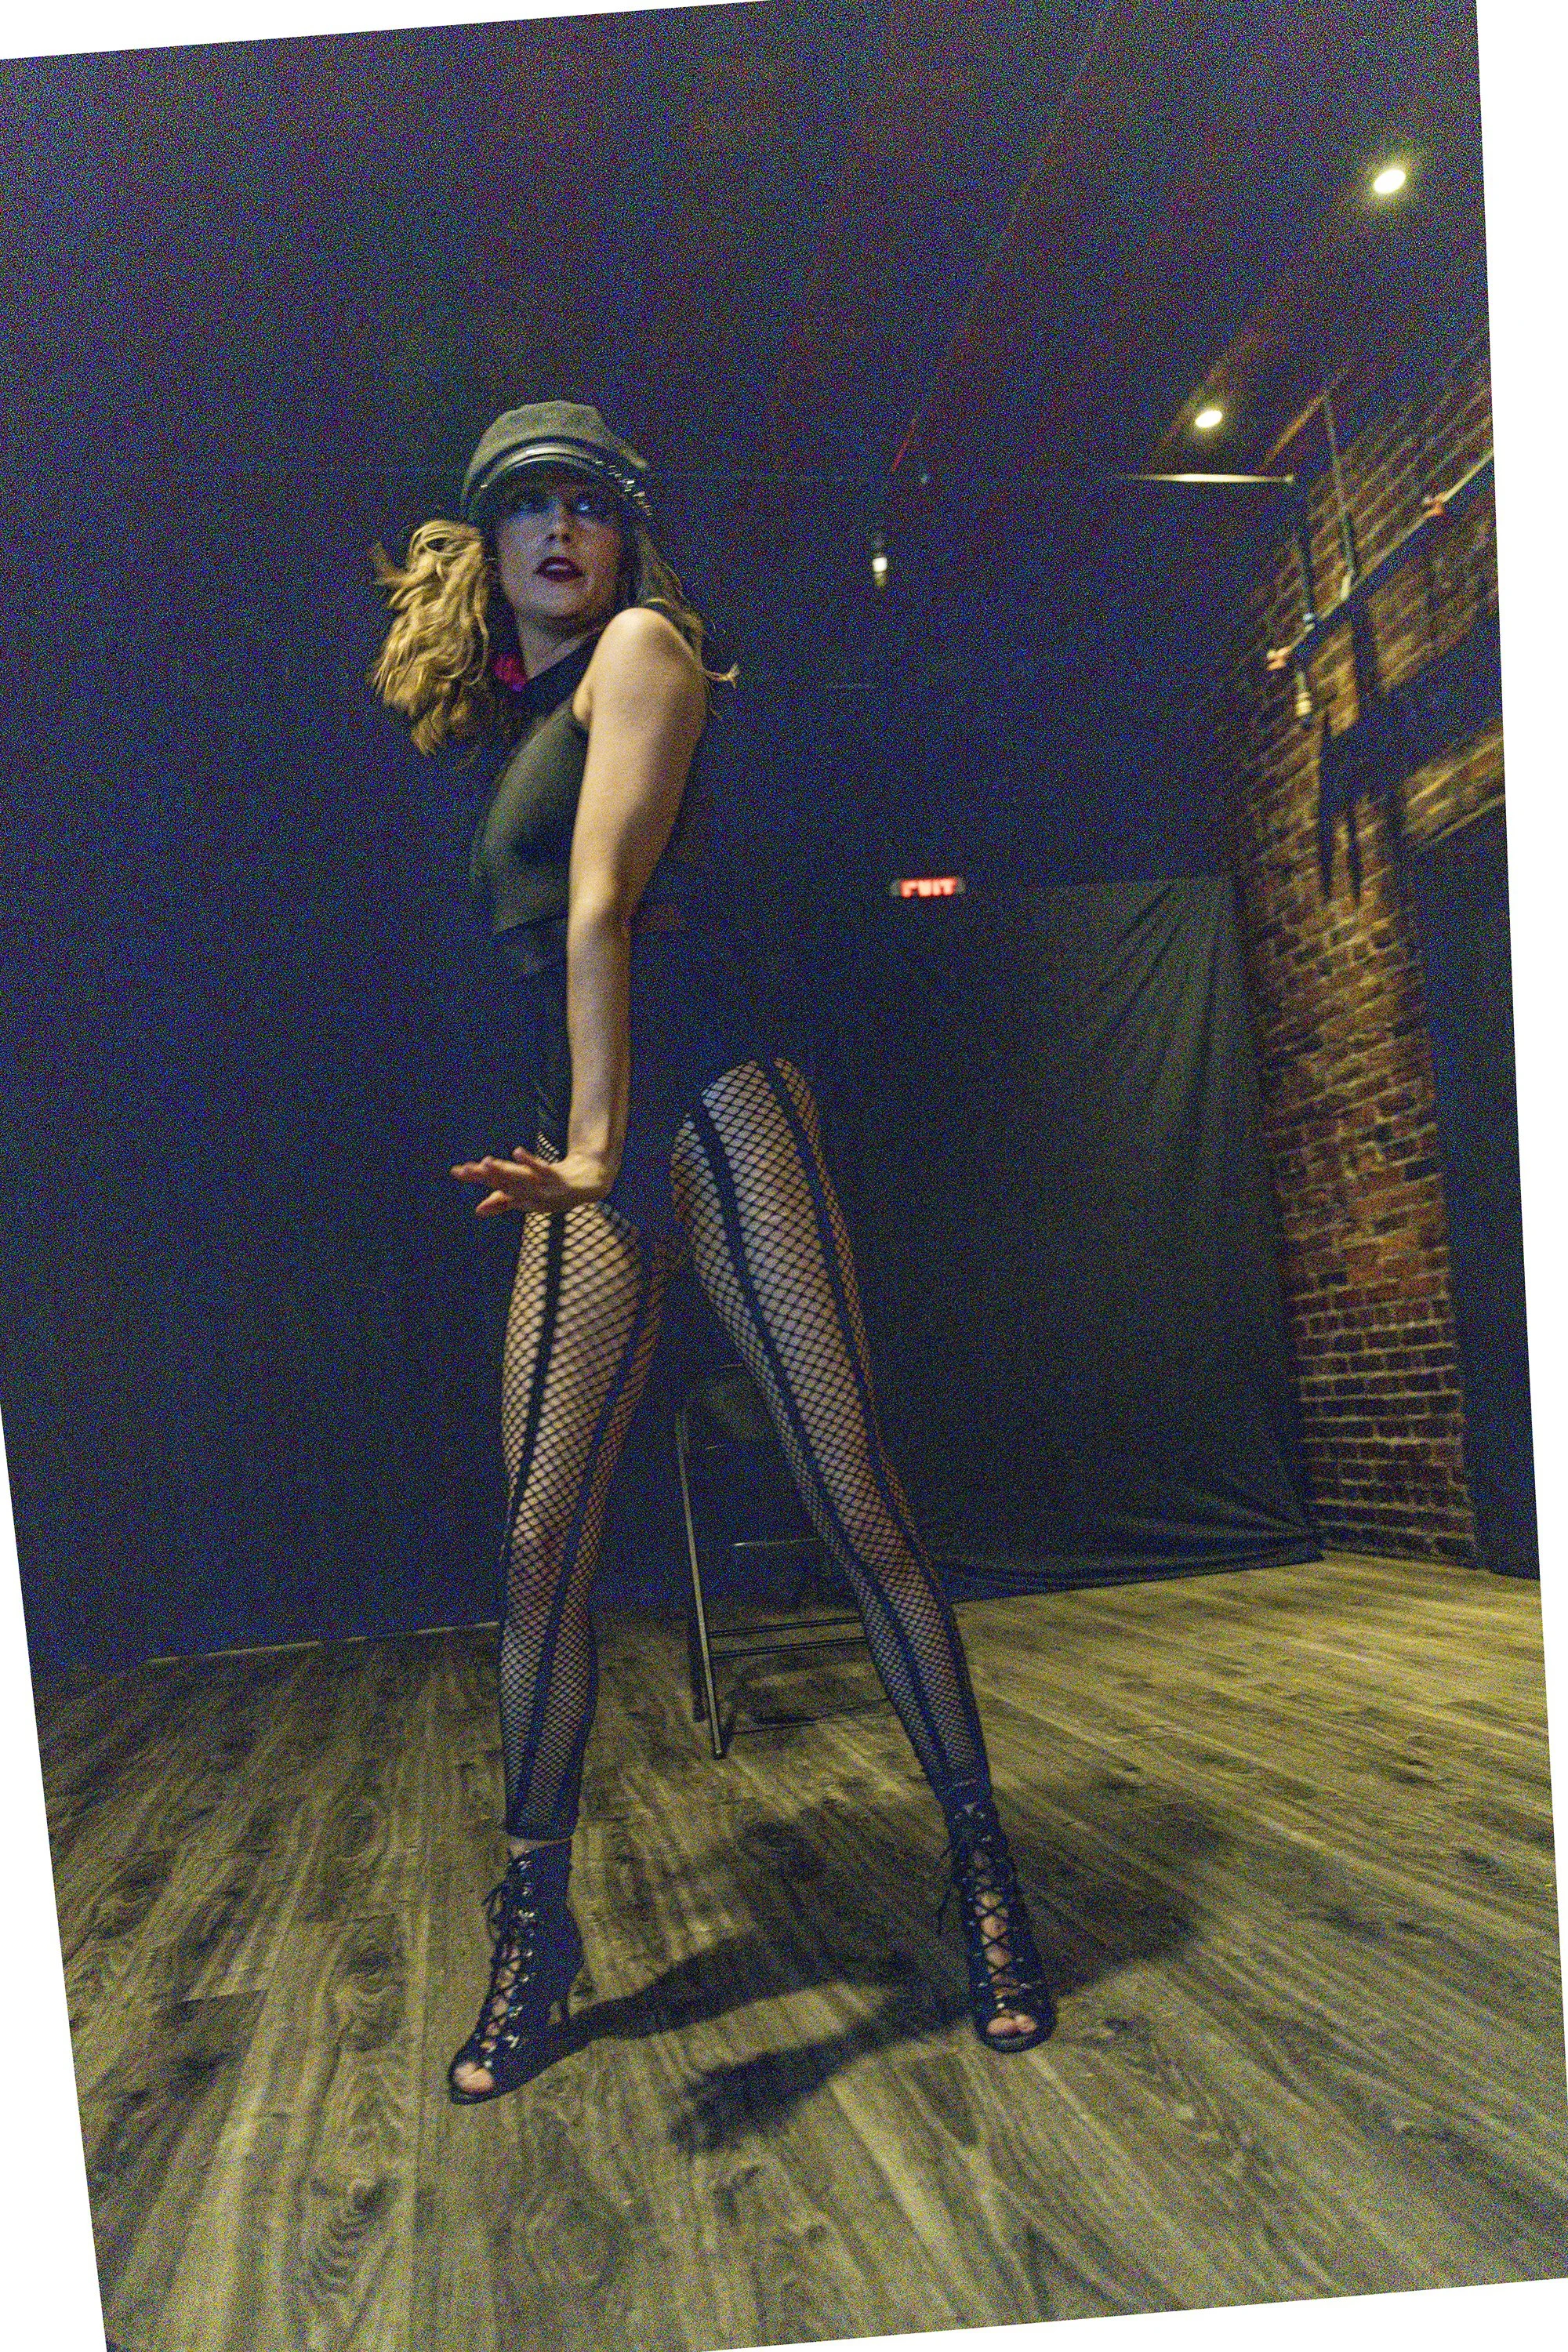 Out of Camera
Camera Raw
Out of Camera
Camera Raw
Still in Camera Raw, I ran AI Denoise and set it to 65. That’s higher than I’d use on a normal job. At these ISOs it’s where the grain cleaned up without the skin turning to plastic.
Push it much higher and you lose texture in hair, fabric and fishnet. Here the fishnets made a good stress test: if the mesh pattern holds up, you haven’t overdone it.
After Denoise, the image was clean but not crisp. Then I opened it in Photoshop.
Step 3: Shrink It to Grow It
 Denoise
Generative Upscale
Denoise
Generative Upscale
This is the part that sounds crazy: I made the image smaller on purpose.
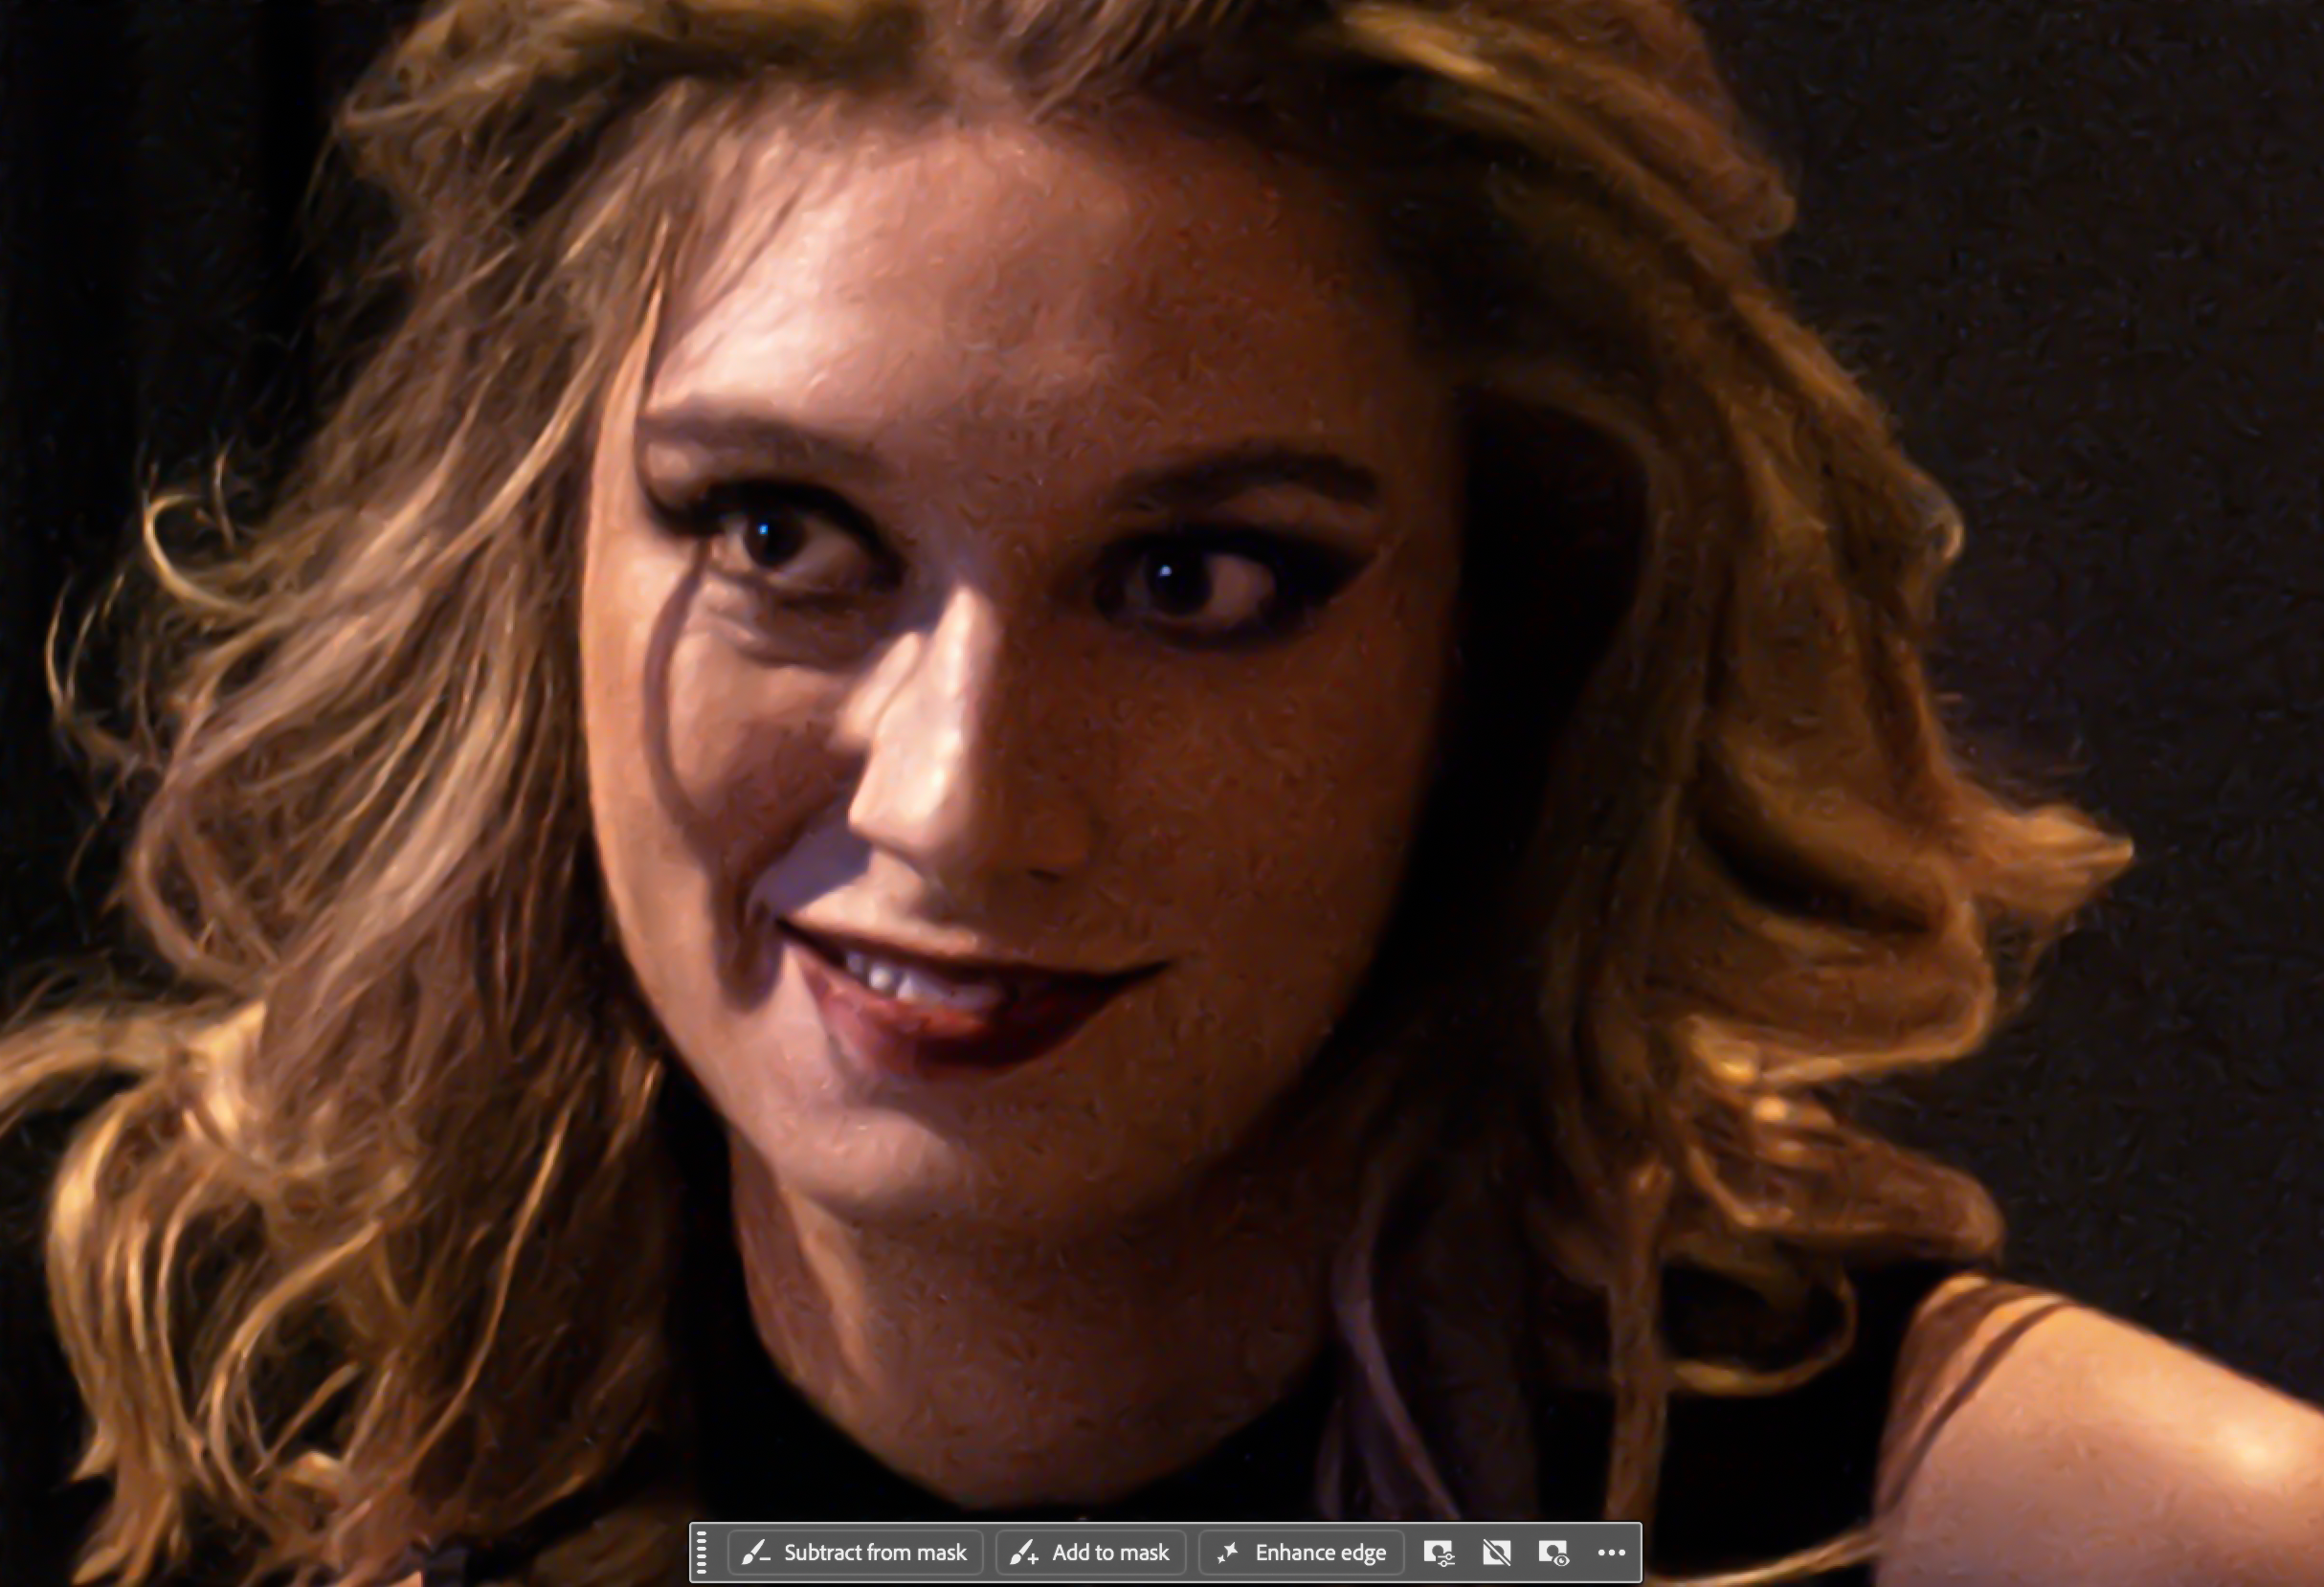
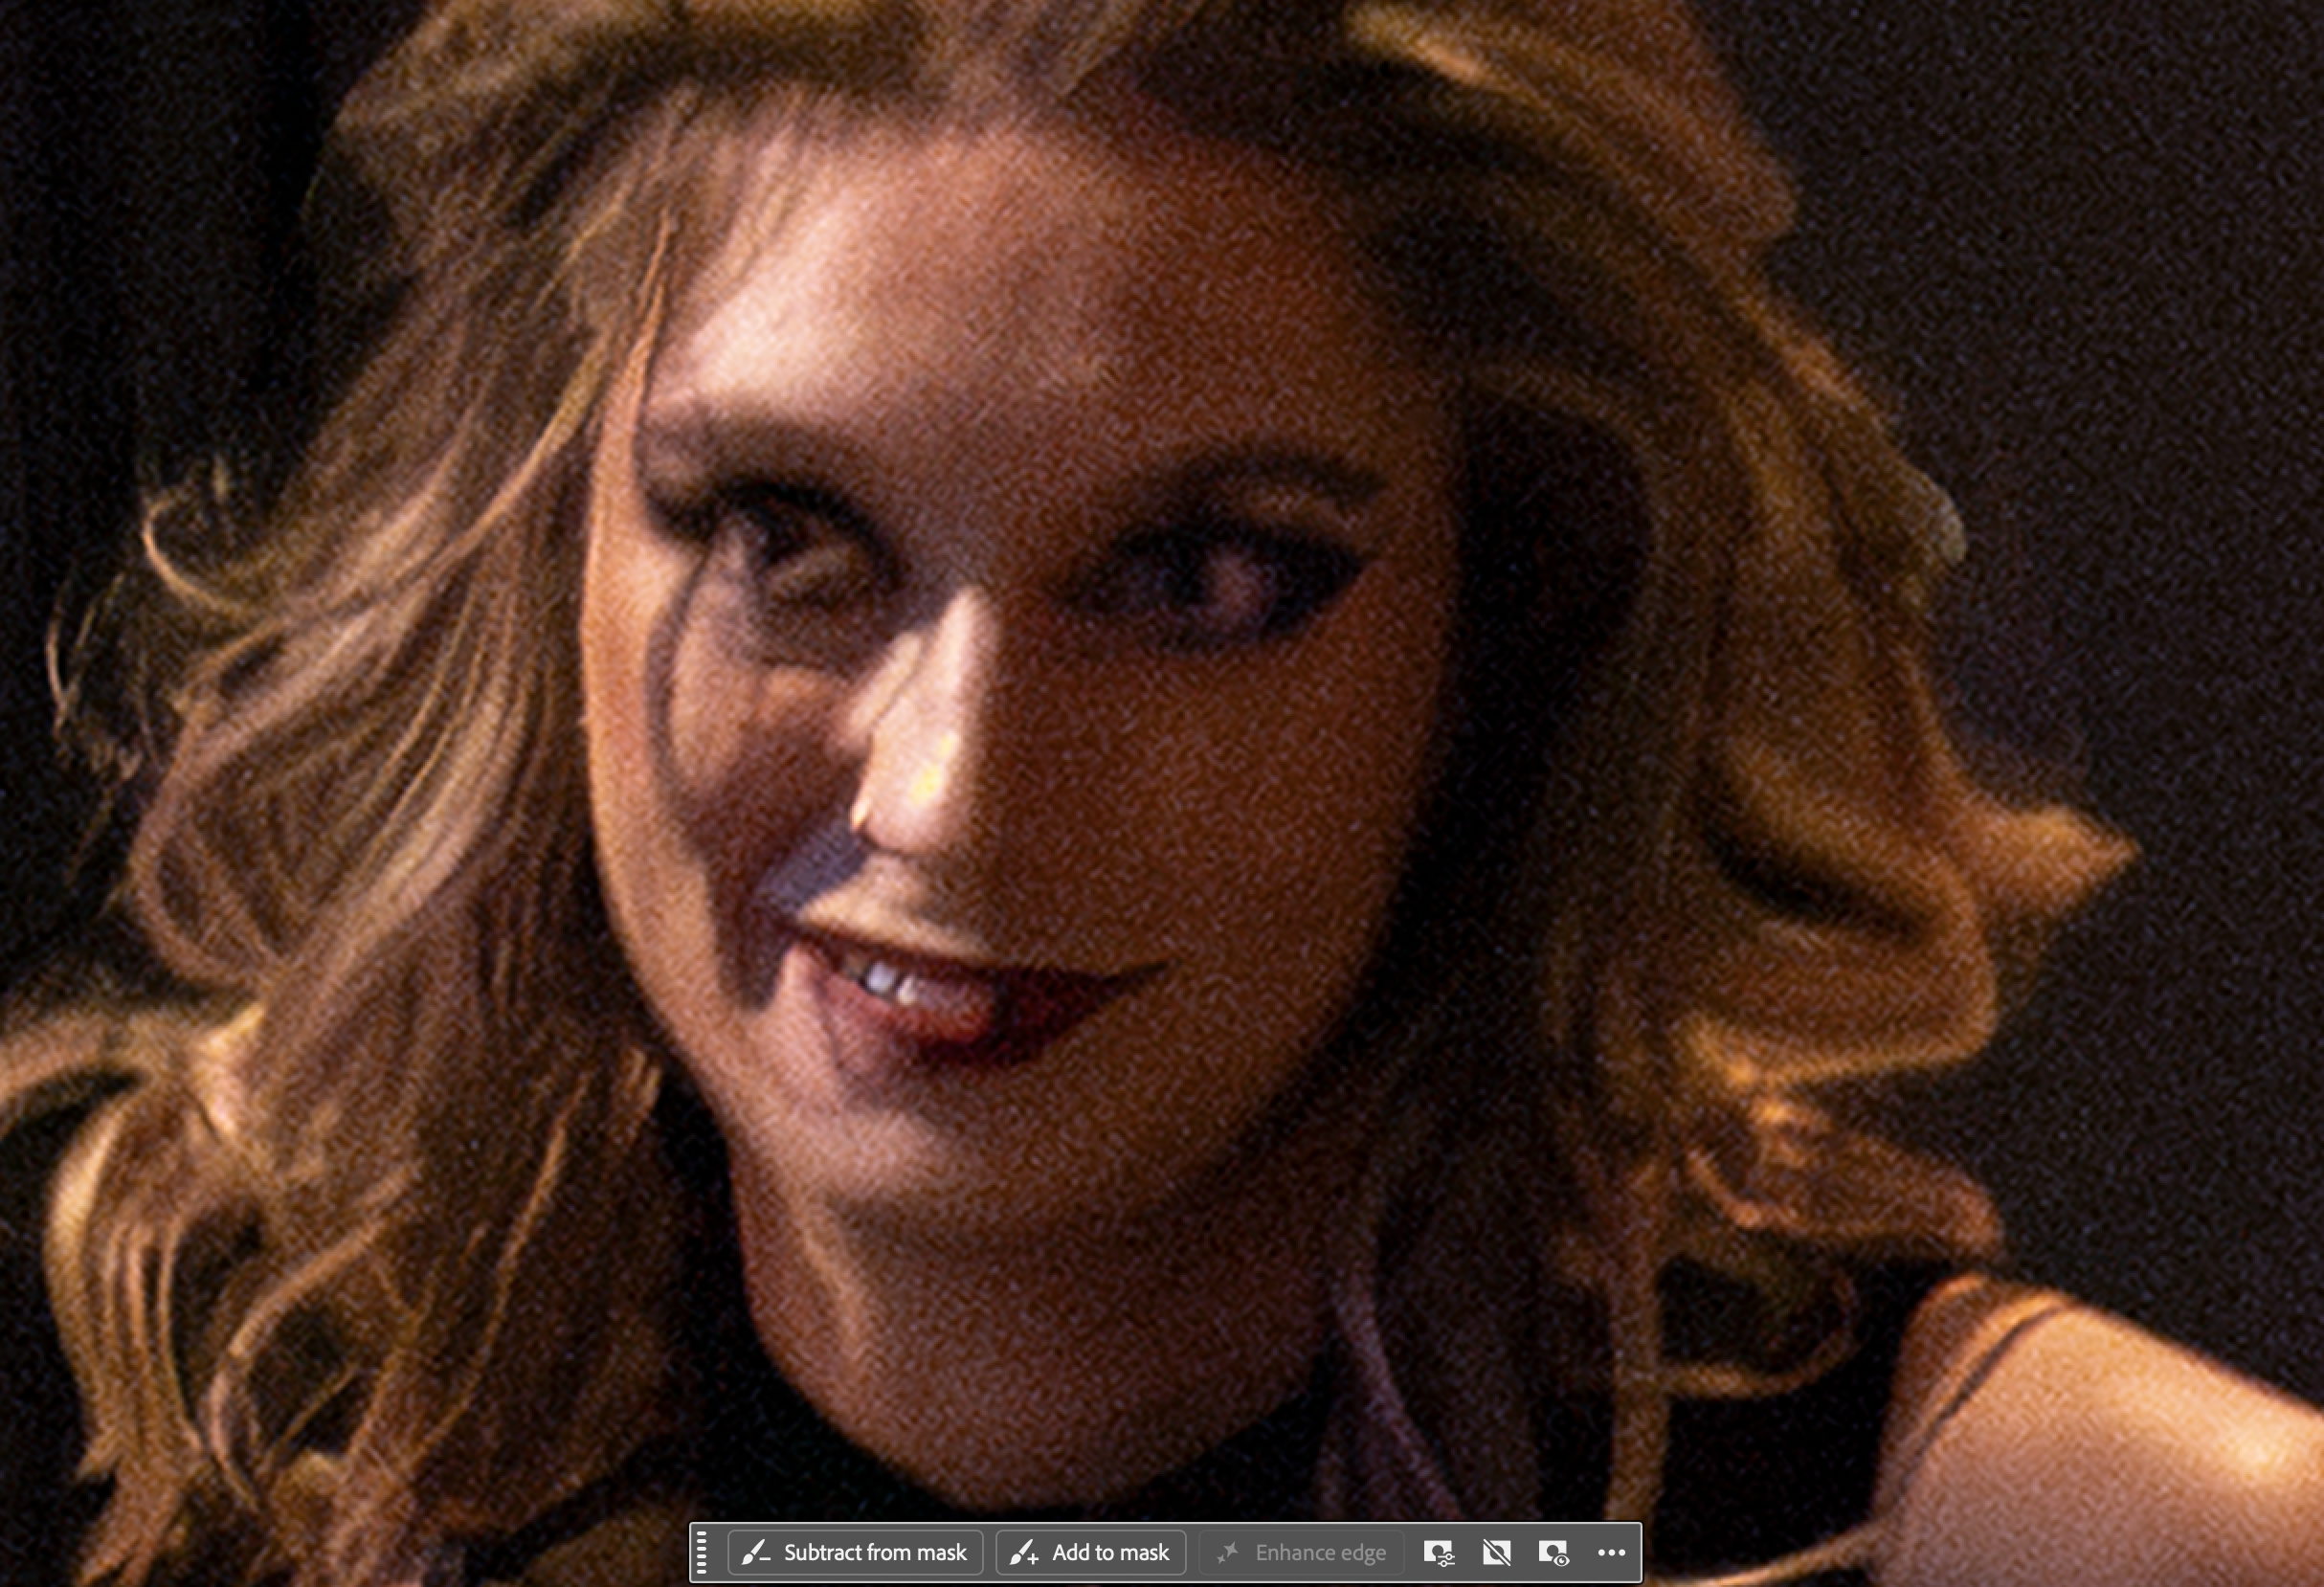
Generative Upscale has a size ceiling of 6000 pixels on the longest side. So before upscaling, I resize the image so its longest dimension is half that, 3000 pixels. Then I run Generative Upscale at 2x, which brings it back to 6000 on the long side.
 Camera Raw
Final
Camera Raw
Final
Why not just sharpen the full-size file? A denoised high-ISO image is clean, but the fine detail is soft and smeared. Normal sharpening only adds contrast to edges that are already mushy. Generative Upscale rebuilds edge detail instead of exaggerating what’s there. Giving it a smaller, clean file and asking it to double the size produced a noticeably crisper result than anything I could get out of the original pixels.
Two cautions:
Check the details after upscaling. Faces, hands, text and repeating patterns are where upscalers can get creative. On this image that meant the eyes, the lips, the fingers, the fishnet pattern, and tattoos! Fortunately this process creates a new corrected layer on top of the imported file. If something looks invented, mask it back or skip the upscale for that image. One thing to note here. Adobe has clear guide rails against nudity. Although these images had no nudity, there were some poses that cause Photoshop to reject the upscale process. Best I could do then was use a saved action or macro I built before denoise was an option.
The ceiling depends on your setup. I used my desktop Photoshop to retouch these images. Adobe’s documentation lists different limits depending on which upscale model you choose and whether you’re in Photoshop desktop or on the web. Check yours first and halve that. I brought the longest edge to 3000. Upscaling it will bring it to the desktop ceiling of 6000. If the size of my longest edge is one pixel higher than 3000, it will not perform the upscale.
A note on AI, because I’ve been clear about this before: I don’t use AI to invent content or alter what was photographed in client work, and that hasn’t changed. This was an extreme case. The only way to deliver images at the standard I hold myself to was to let Generative Upscale rebuild detail that was already in the photo. No added people, no swapped backgrounds, nothing that wasn’t in the room.
Step 4: Retouch Like It’s Any Other Portrait
From here it’s a normal edit. Blemish cleanup, stray hairs, dodge and burn, and the usual tools you’d use for portrait or commercial work.
One important caveat: if the image is going to be used editorially (news, journalism or documentary coverage), skip both the retouching and the generative upscale. Editorial standards generally don’t allow altering content, and AI-generated detail falls under that. For editorial use, you’ll have to use manual noise reduction and save it from there.
The Takeaway
When the room is dark and you have no control over the light, protect the things you can’t fix later:
Shutter speed — 1/125 minimum, 1/200+ for fast motion
ISO — let it climb; 8000–12800 is workable
Aperture — wide open for one person, stopped down for groups
Denoise — around 65 for high-ISO files, and check fine textures
Shrink, then upscale — resize to half the Generative Upscale ceiling, then upscale 2x
Retouch last, and only if it isn’t editorial
It’s not the kind of shoot anyone dreams about, but it’s the kind event photographers get all the time.
Got a Dark Venue? Bring It On.
Planning an event in Columbus where the lighting is, let’s say, “moody”? Take a look at my event photography, then get in touch and tell me about the room. If you already have a date, you can book directly here.