

Every finished photo you see on my website started somewhere else. Usually somewhere less flattering.
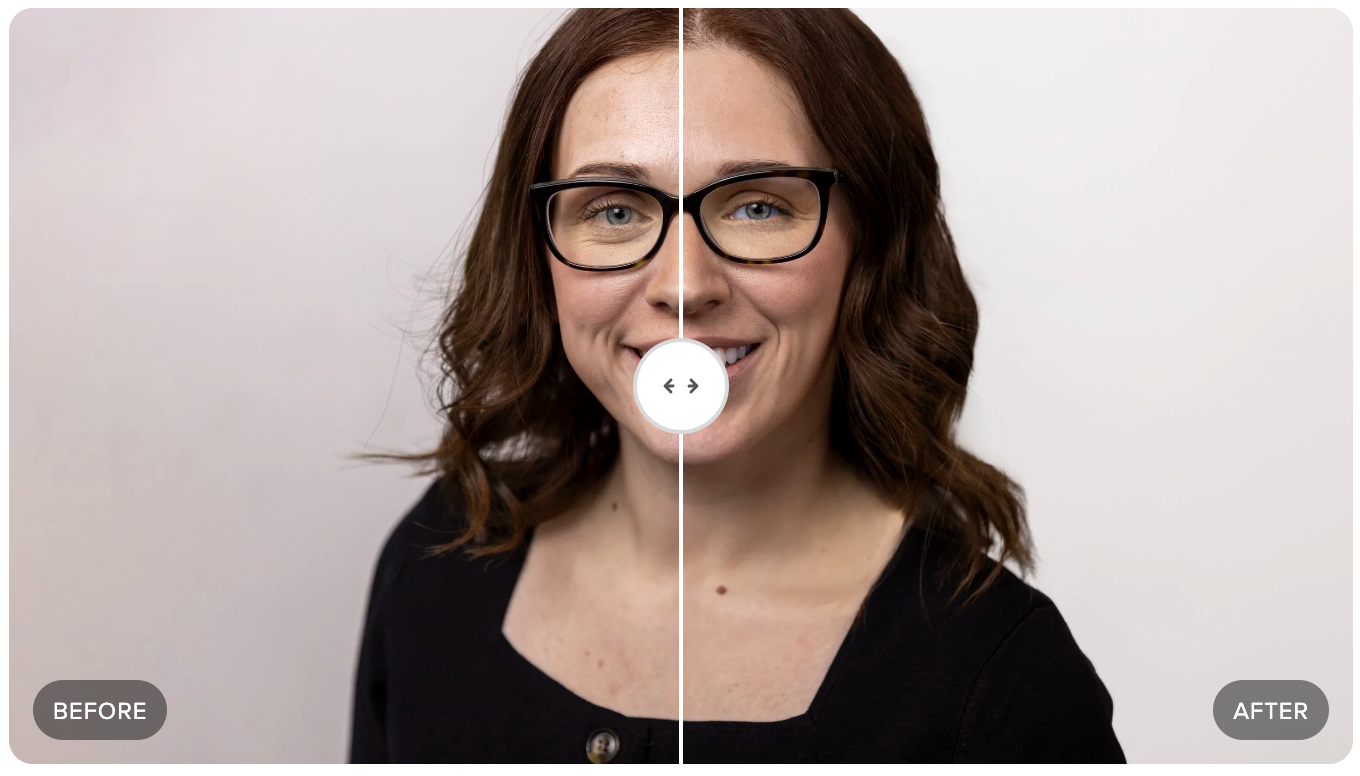
The image you're looking at above is Abby. She is a returning client who came in for a studio headshot session — confident, great energy, easy to work with. She had recently gone through some lifestyle changes and looked nothing like her previous headshot. We got the shot in camera without any trouble. But what left my studio that day looked verry different than what I delivered to her.
That's not a knock on the RAW file. That's just how professional photography works.
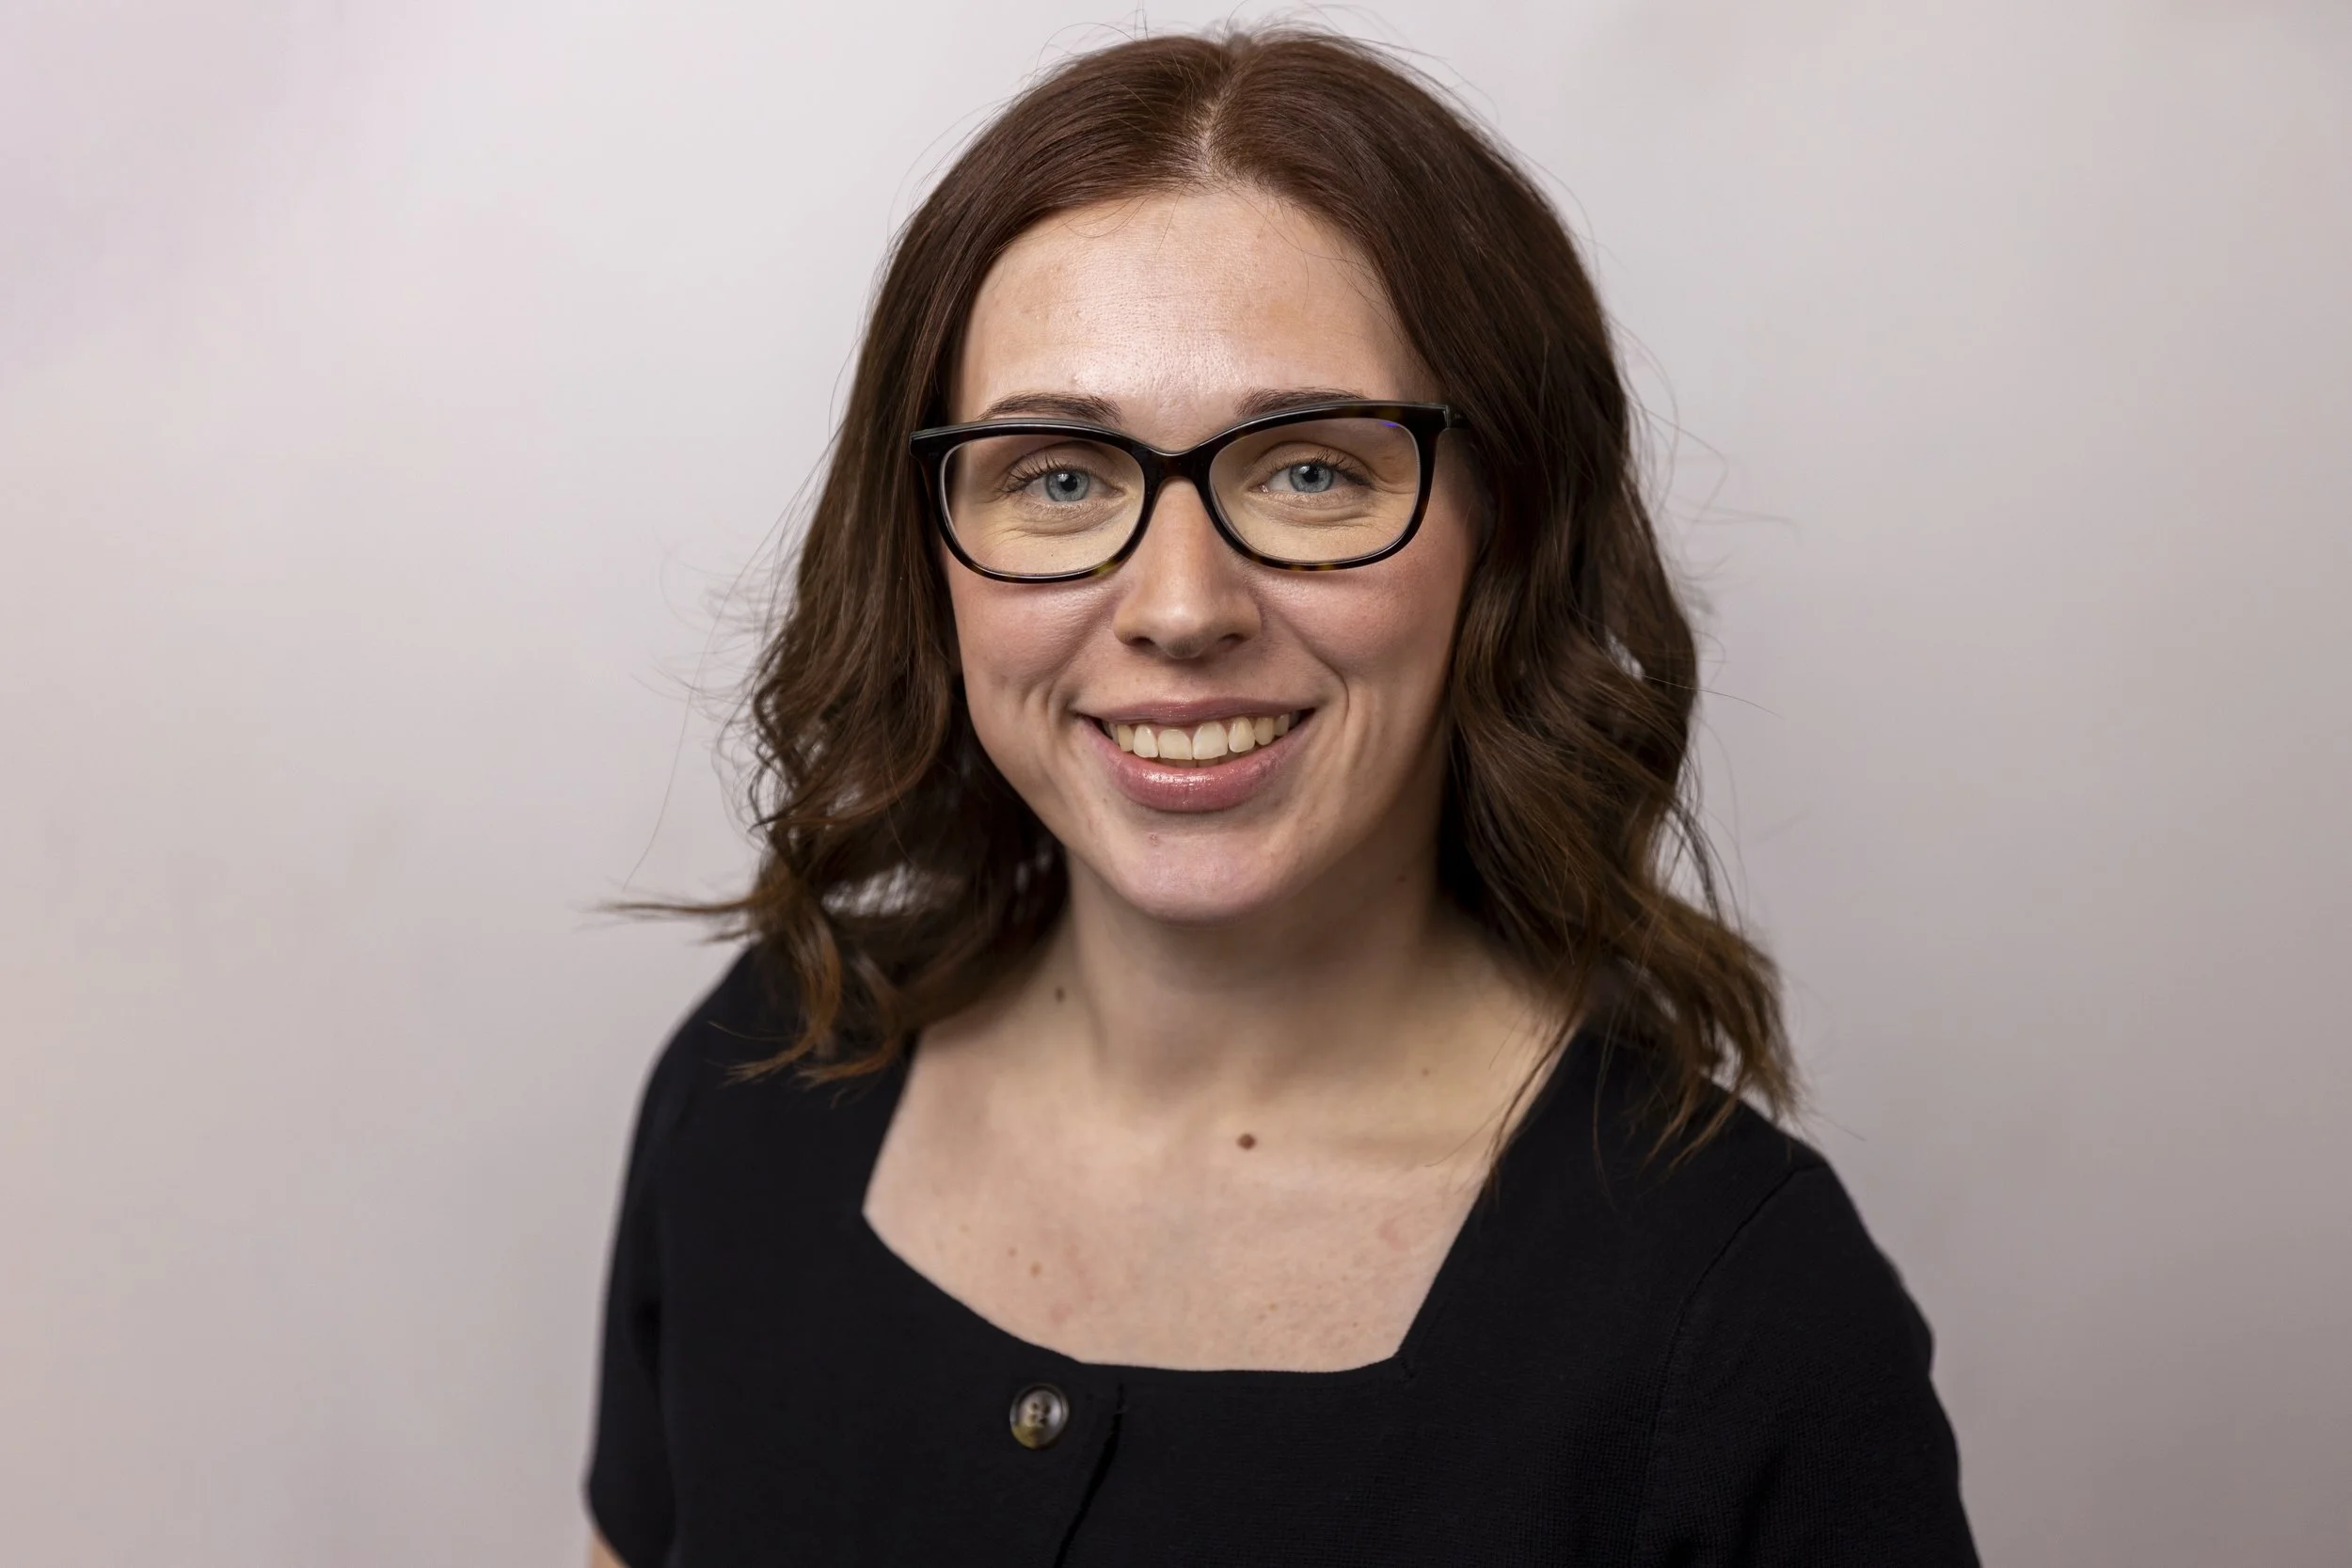
What the camera gave me
The RAW file just needed some love. I lessened the bags under her eyes, there was some shine on her forehead, a few minor blemishes were removed, her hair needed cleaned up, and I brightened her smile a little. The overall image lacked the polish that makes a headshot feel authoritative. None of that is unusual. A RAW file is a starting point, never a finished product — it captures everything, including the stuff that doesn't serve the subject. RAW is the way to shoot files you’re going to edit as aprofessional photographer, but if you’re not going to edit, then you need to shoot im JPEG format.
This is where the real work begins.
What I did in post
Drag the slider above and you'll see the difference. Here's what went into it:
Fly away hairs were the main event here, followed by skin retouching. I worked through the image carefully — reducing shine, smoothing out uneven texture, addressing blemishes — while keeping Abby looking like Abby. Over-retouching is a real thing. The goal isn't a magazine cover; it's the best version of the person sitting in front of me. I want people to look like themselves, just on the best day of their lives.
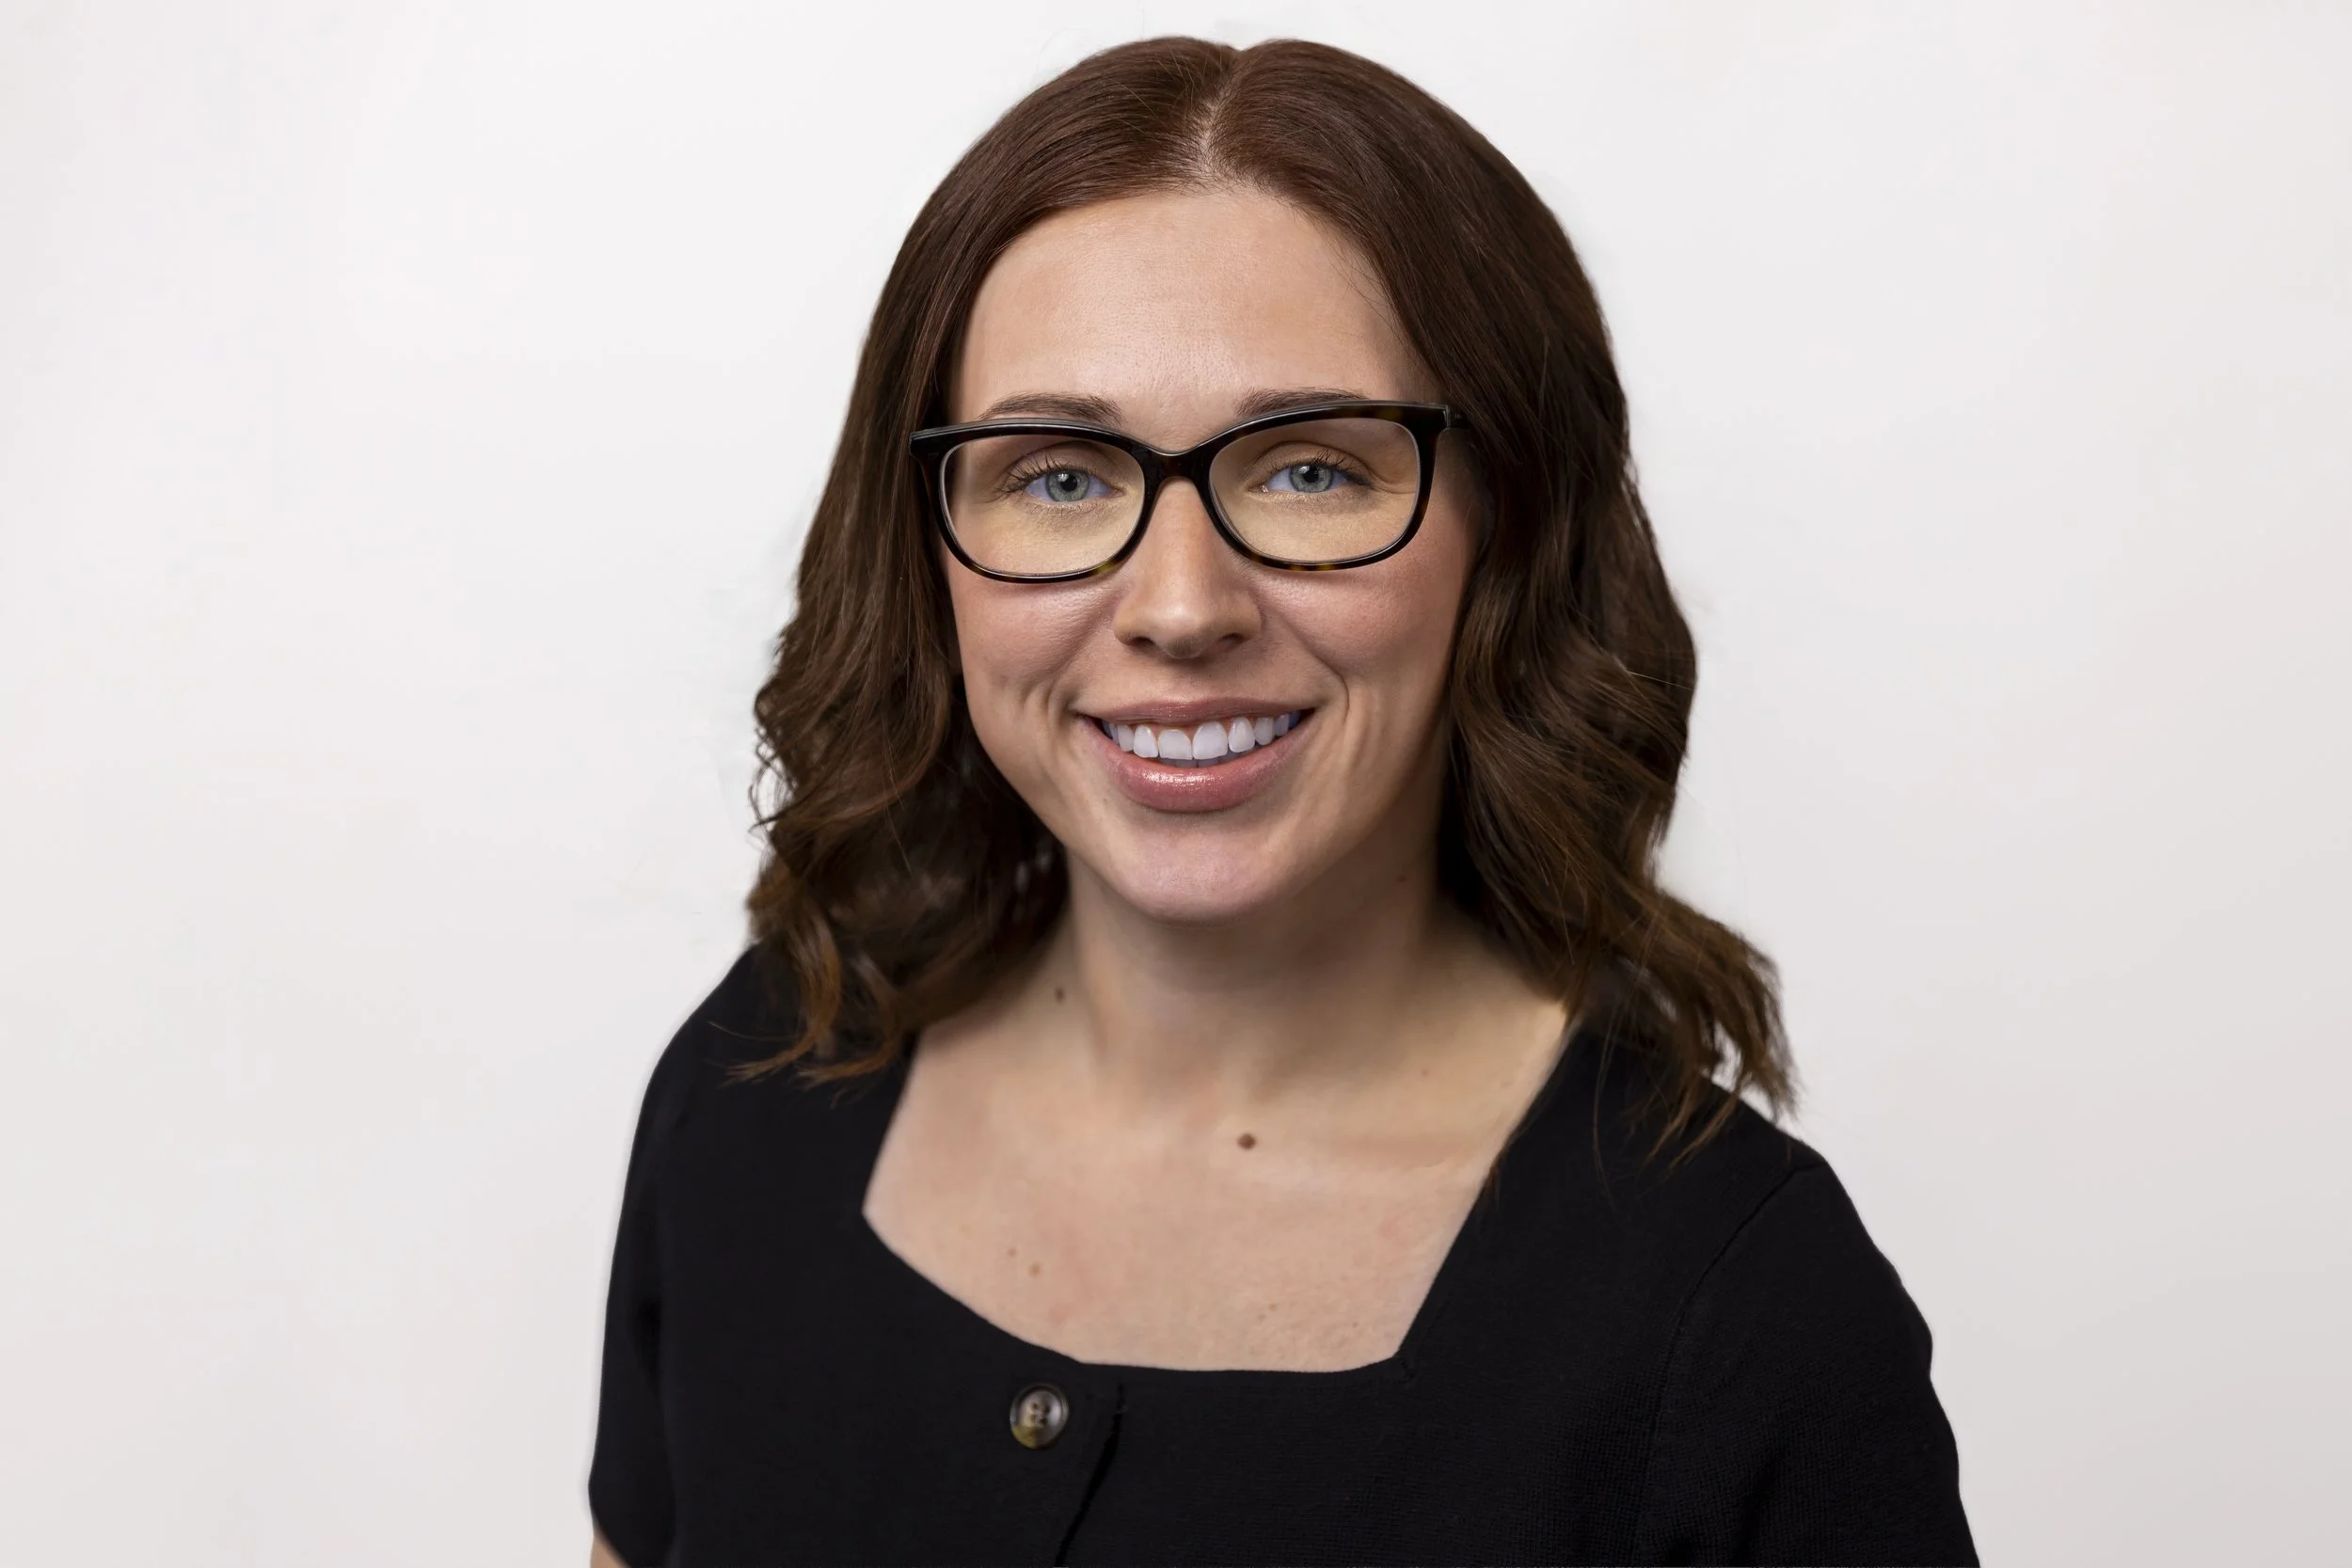
Color and tone came next. I adjusted the whites and highlights to give the image more life, brought the shadows up slightly to open up the face, and dialed in the skin tones so they felt natural under the studio lighting rather than clinical.
Final sharpening and cleanup closed it out — removing any distracting elements, tightening the overall look so nothing pulls your eye away from her face.
What this means for you as a client
When you book a portrait or headshot session with me, the session itself is only part of that which you're paying . The time we spend in the studio matters — but so does the time I spend afterward making sure the image earns its place on your site, LinkedIn profile, press kit, or the side of a building.
I retouch every selected image through this process. The goal is always a polished, professional result — one that still looks like the client.
Ready to book your session? Get in touch here.